

How to create and deploy a CAR file in a stand-alone WSO2 server and in WSO2 stratos

How to create a CAR file
For this demonstration, I am using the 1.0.12 version of Carbon Studio. First create a CApp project in Carbon Studio and add your artifacts. I have created a registry resource (AreaService.wsdl) to be deployed in the Governance Registry server, a data service (Dataservice1.dbs) to be deployed in the Data Services Server and a proxy service (proxyService1.xml) to be deployed in the ESB Server. TestApp is the CApp file which contains all of this.
To create a CAR file, go to your CApp. You will find a file named root-artifact.xml, double click to open it. The 3 artifacts that I created are listed below. Select the artifacts you want to include in the CAR file that you are going to create. Click on the 'Create Archive' button on the top right corner.
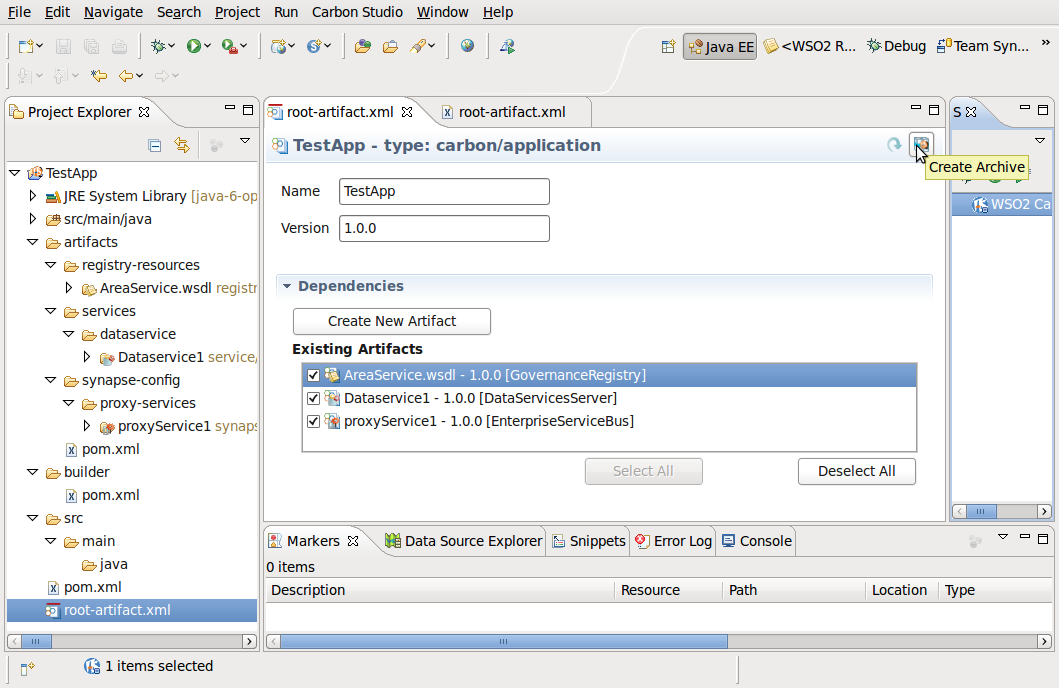
The following wizard will be shown to you next. Make any changes if you wish to. Click on Finish.

After the CAR file is created it will be saved in your file system.
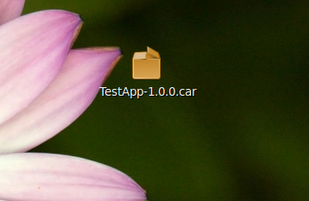
Now, we have a CAR file all ready to be deployed in one or more servers.
How to deploy a CAR file in a stand-alone WSO2 server
Go inside one of your server folders (carbon_home folder). I want to deploy my proxy service in the ESB server. Go to the bin folder in carbon_home and start the server.

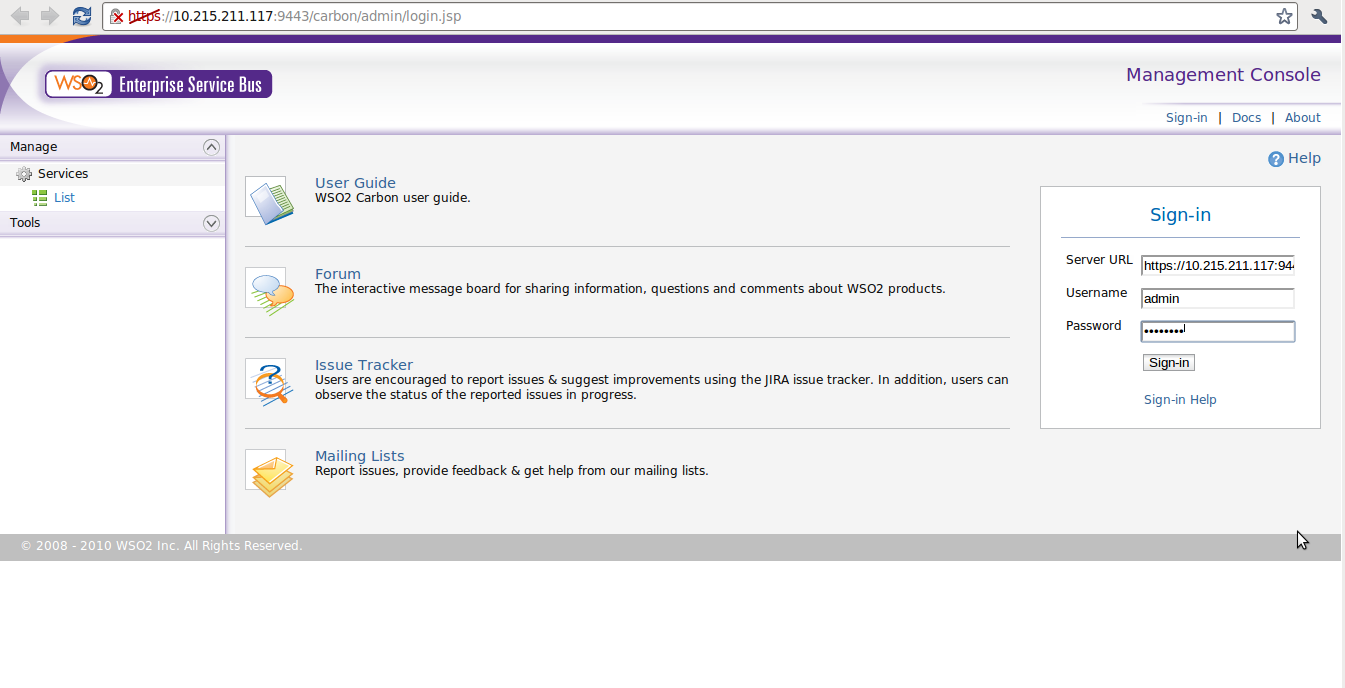
Log in to the management console.
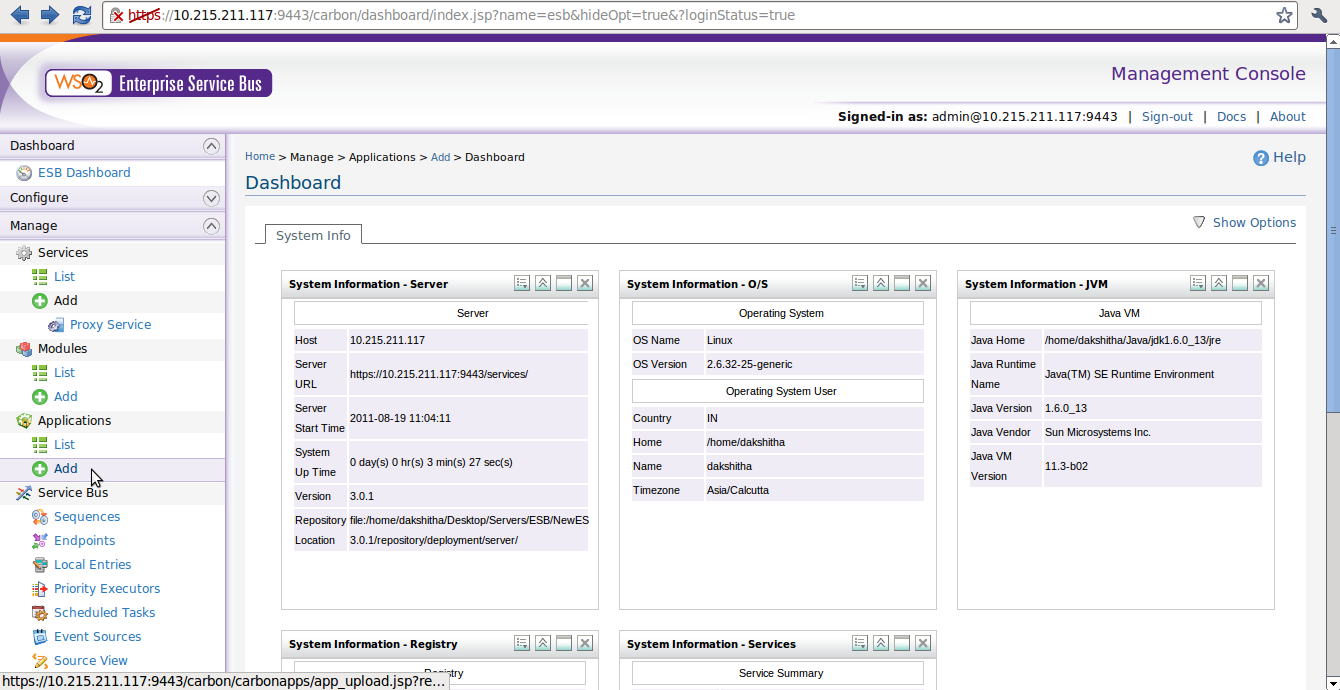
You will now see the dashboard. On the left you will see 'Applications' under the 'Manage' tab. Under 'Applications' click on 'Add'.
You will then see the following page where you will have to browse for your CAR file.

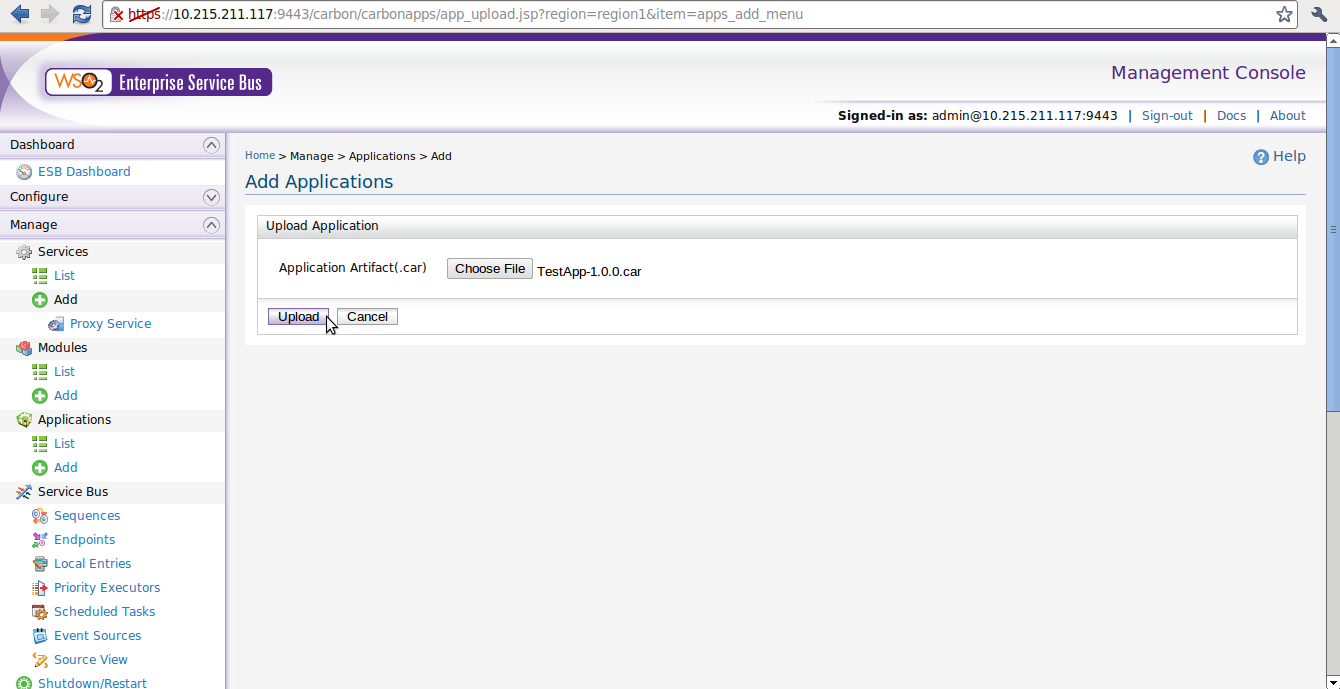
After selecting the CAR file, it will be displayed as in the following image. Click on upload to finish.
After a successful upload, you will see the following message.

If you go back to 'Applications' under the 'Manage' tab and click on 'List' you will see the CAR file we just uploaded.

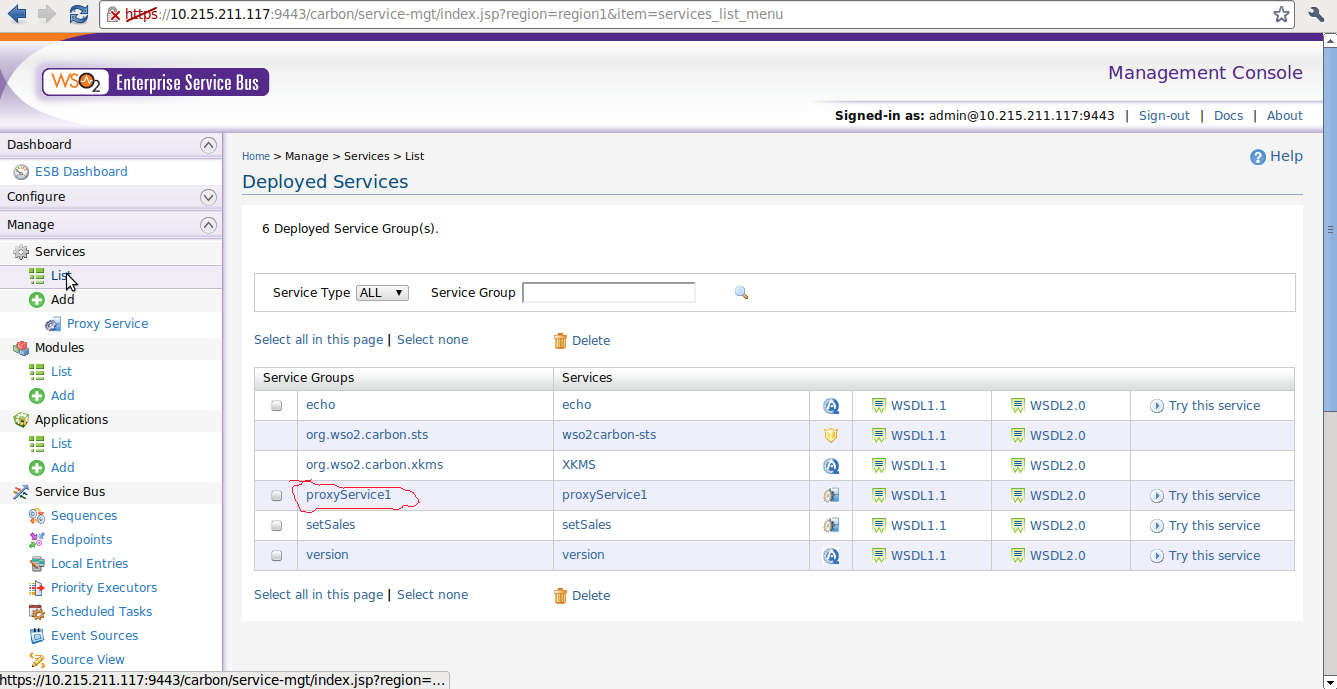
I uploaded the CAR file to the ESB server. The CAR file contained 3 different types of artifacts that belong to 3 different types of servers. So did the ESB Server pick the right artifact, the proxy service? Go to the 'Manage' tab, under 'Services' go to 'List' and you will see proxyService1 being listed.
So how did the ESB server know what artifact to take? Well, if you go back to your CApp, and if you open your root-artifact.xml file in an xml editor you will see the following.

As shown in the xml file above, each dependency element has 3 properties. The name, version and the server role. The server role indicates the server to which the artifact belongs. So when the CAR file is deployed in a server, the server looks for artifacts with the same server role as the server.
How to Deploy a CAR in WSO2 Stratos
You can take the same CAR file and deploy it in the ESB Server running in Stratos (or any other server). Log in to your Stratos installation or Stratos Live. I'll be logging into Stratos Live at https://stratoslive.wso2.com/.
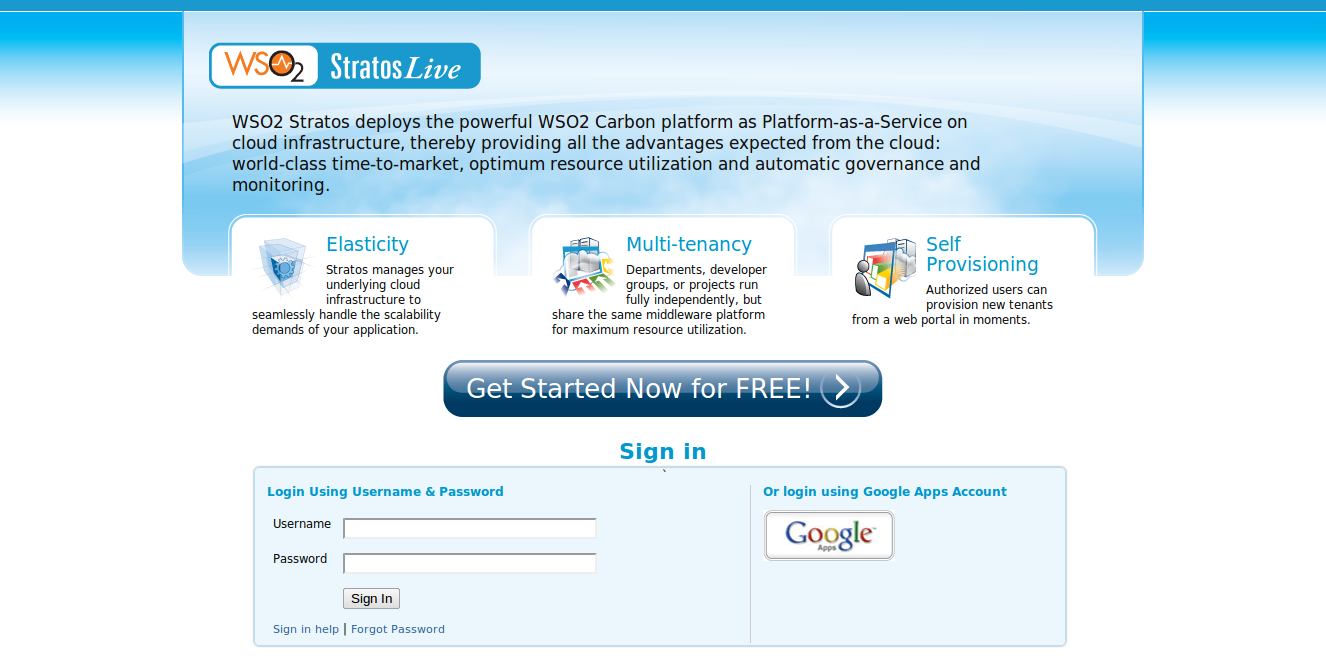
After logging in you will be directed to the Stratos home page.

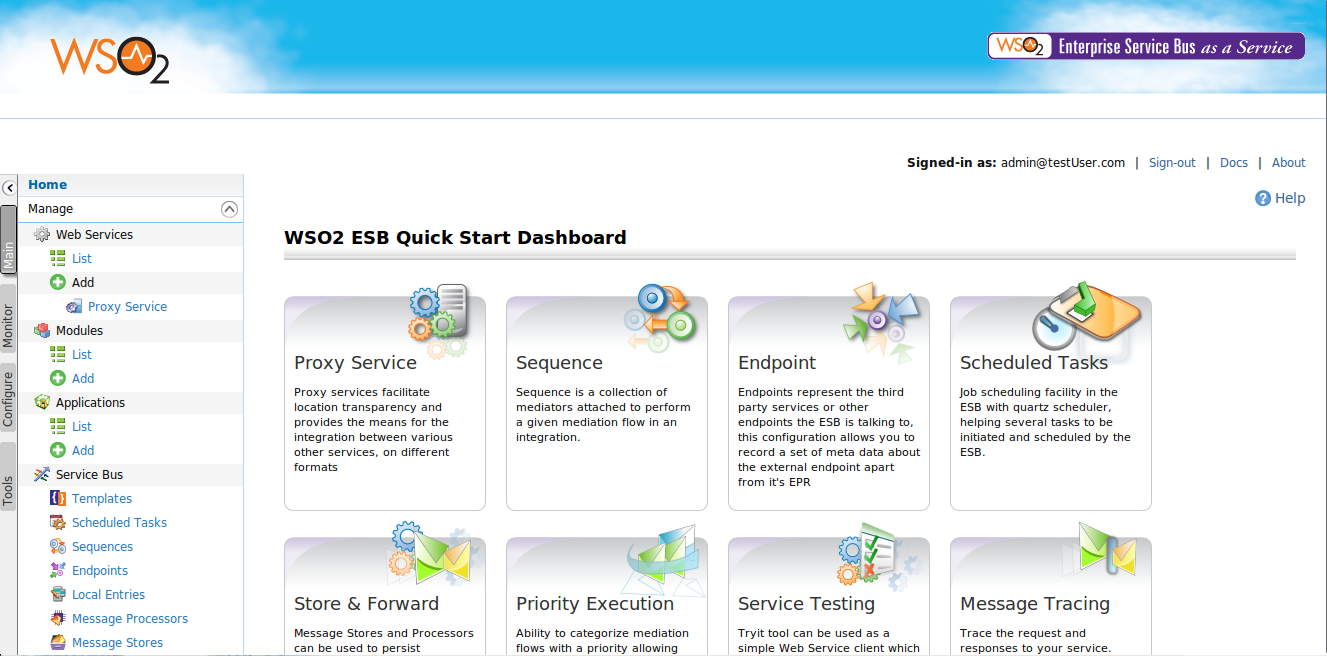
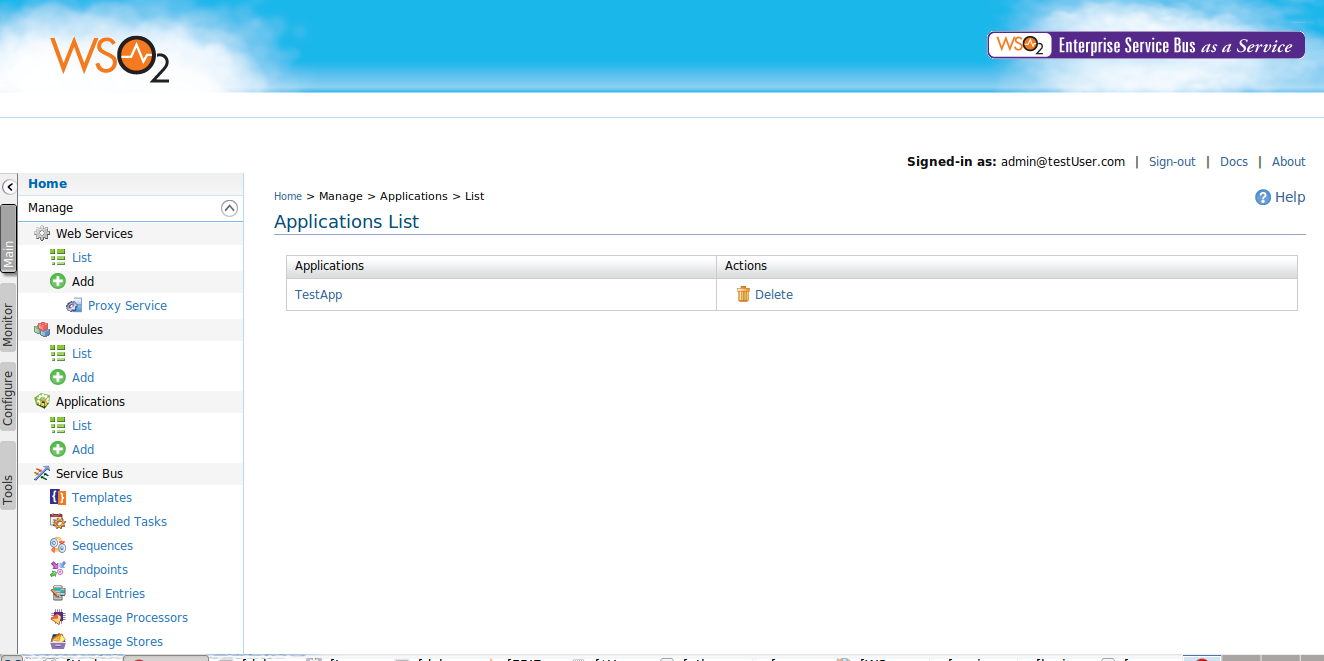
Click on 'Enterprise Service Bus' and you will see the WSO2 Enterprise Service Bus as a Service interface. The following image is the Stratos version of the WSO2 ESB home page. You will see the same controls on the left. As done earlier, go to 'Manage' -> 'Applications' -> 'Add' to add the CAR file and follow the same steps.
When the upload is successful, go to 'Applications' -> 'List' and you will see the CAR file listed.
Author
Daskhitha Rathnayake, Software Engineer, WSO2 Inc.