Set up WSO2 Integrator
Install WSO2 Integrator on your machine to develop, test, and debug integrations locally. The WSO2 Integrator available for Windows, macOS, and Linux.
System requirements
Before installing WSO2 Integrator, ensure your machine meets the following hardware and software requirements:
| Requirement | Minimum | Recommended |
|---|---|---|
| Operating System | Supported versions of Windows client (64-bit), macOS versions with Apple security update support (typically the latest release and the two previous versions), Linux: Ubuntu Desktop 20.04, Debian 10, Red Hat Enterprise Linux 8, Fedora 36 or later | Latest version of a supported operating system |
| Processor (CPU) | 64-bit dual-core x64 or ARM64 processor, 1.6 GHz or faster | Quad-core or better (Intel Core i5/i7, AMD Ryzen 5/7, or Apple silicon) |
| Memory (RAM) | 4 GB | 8 GB or more (16 GB if you also run Docker or several projects) |
| Disk Space | 4 GB free space | 10 GB free space (SSD recommended) |
| Network | Internet connection to install, update, and pull packages from Ballerina Central | Broadband internet connection |
If your network restricts internet access, see Work in a Restricted Network to configure a proxy before you install.
Installation steps
Step 1: Download WSO2 Integrator
- Visit the WSO2 Integrator Downloads page.
- Select your operating system: Windows, macOS, or Linux.
- Download the installer for WSO2 Integrator.
Step 2: Install WSO2 Integrator
Windows
- Run the
.msiinstaller and follow the installation wizard.
macOS
- Run the
.dmginstaller and drag the application to the Applications folder.
Linux
- Ubuntu or Debian: install the
.debpackage. - RHEL or Fedora: install the
.rpmpackage. - Other distributions: extract the
.tar.gzarchive.
Step 3: Launch WSO2 Integrator
After installation, launch the WSO2 Integrator:
- Windows: Double-click the WSO2 Integrator icon on your desktop or start menu.
- macOS: Open the Applications folder and double-click WSO2 Integrator.
- Linux: Launch WSO2 Integrator from your applications menu (after a
.debor.rpminstall), or run the binary from the extracted directory if you used the.tar.gzarchive.
Step 4: Sign in to WSO2 Integrator
Sign in with your WSO2 Cloud account to deploy to WSO2 Cloud, manage environments, access observability features, and use WSO2 Integrator Copilot.
-
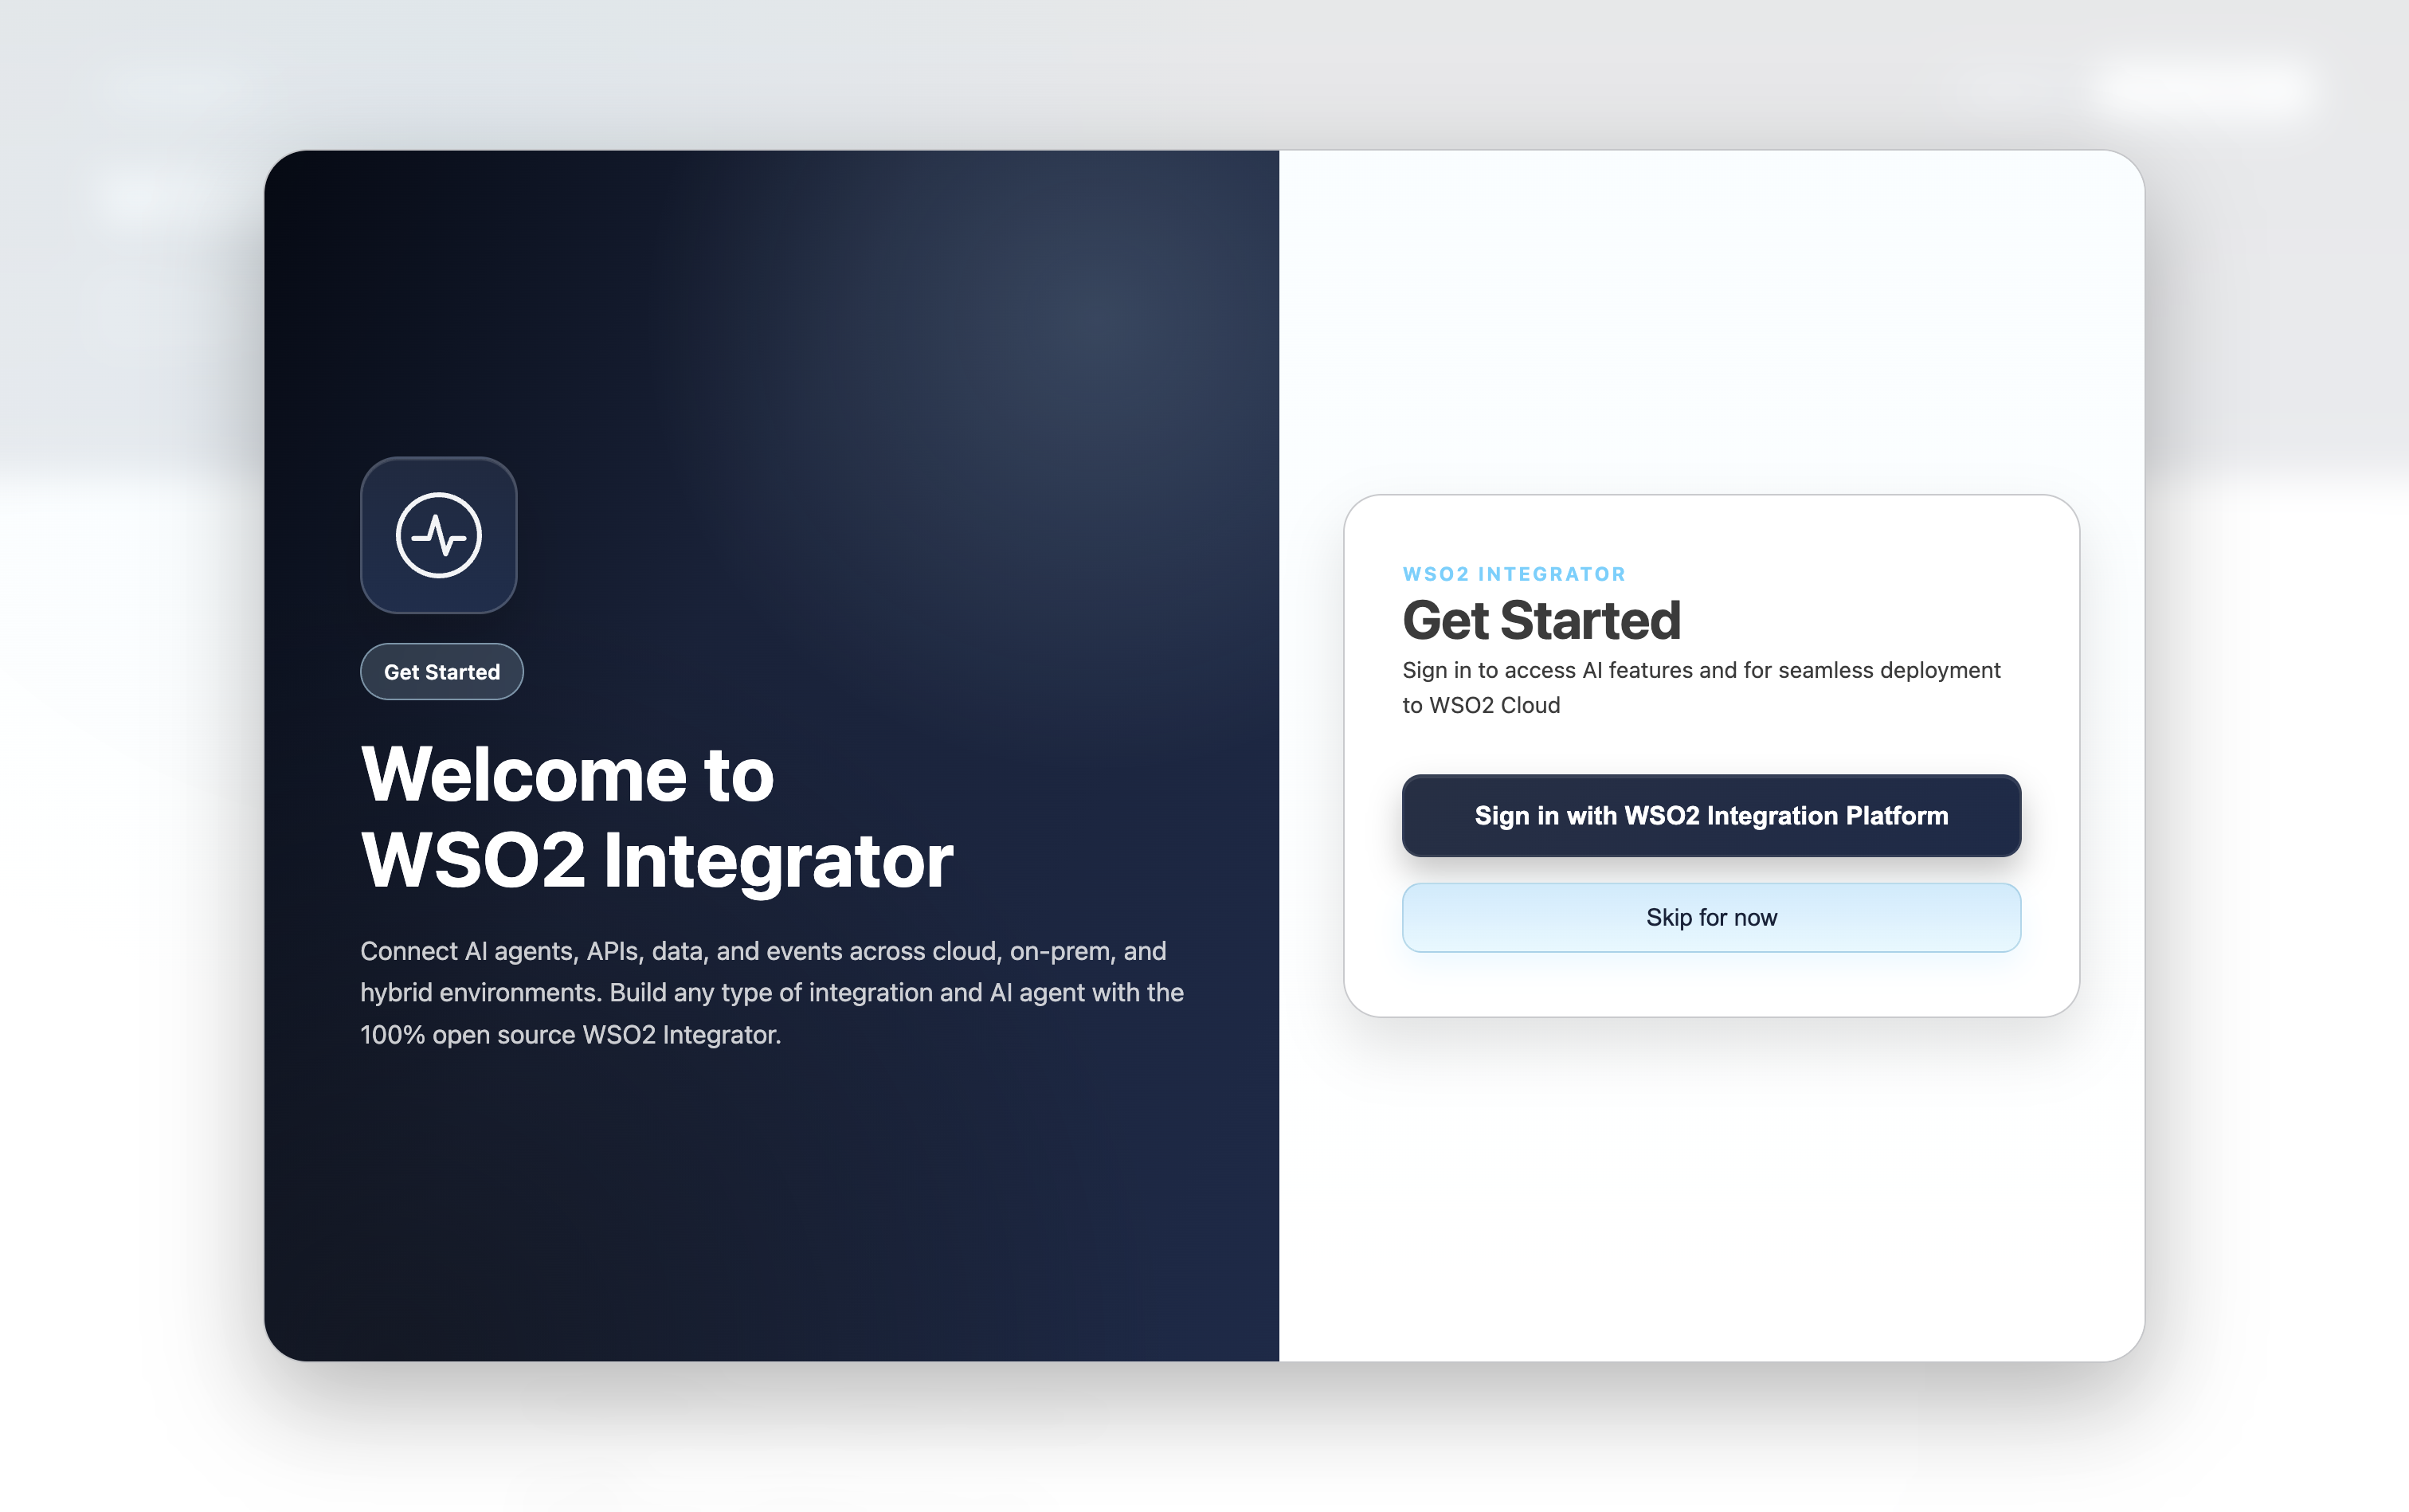
On the Welcome to WSO2 Integrator screen that appears when you first launch the editor, click Sign in with WSO2 Integration Platform.
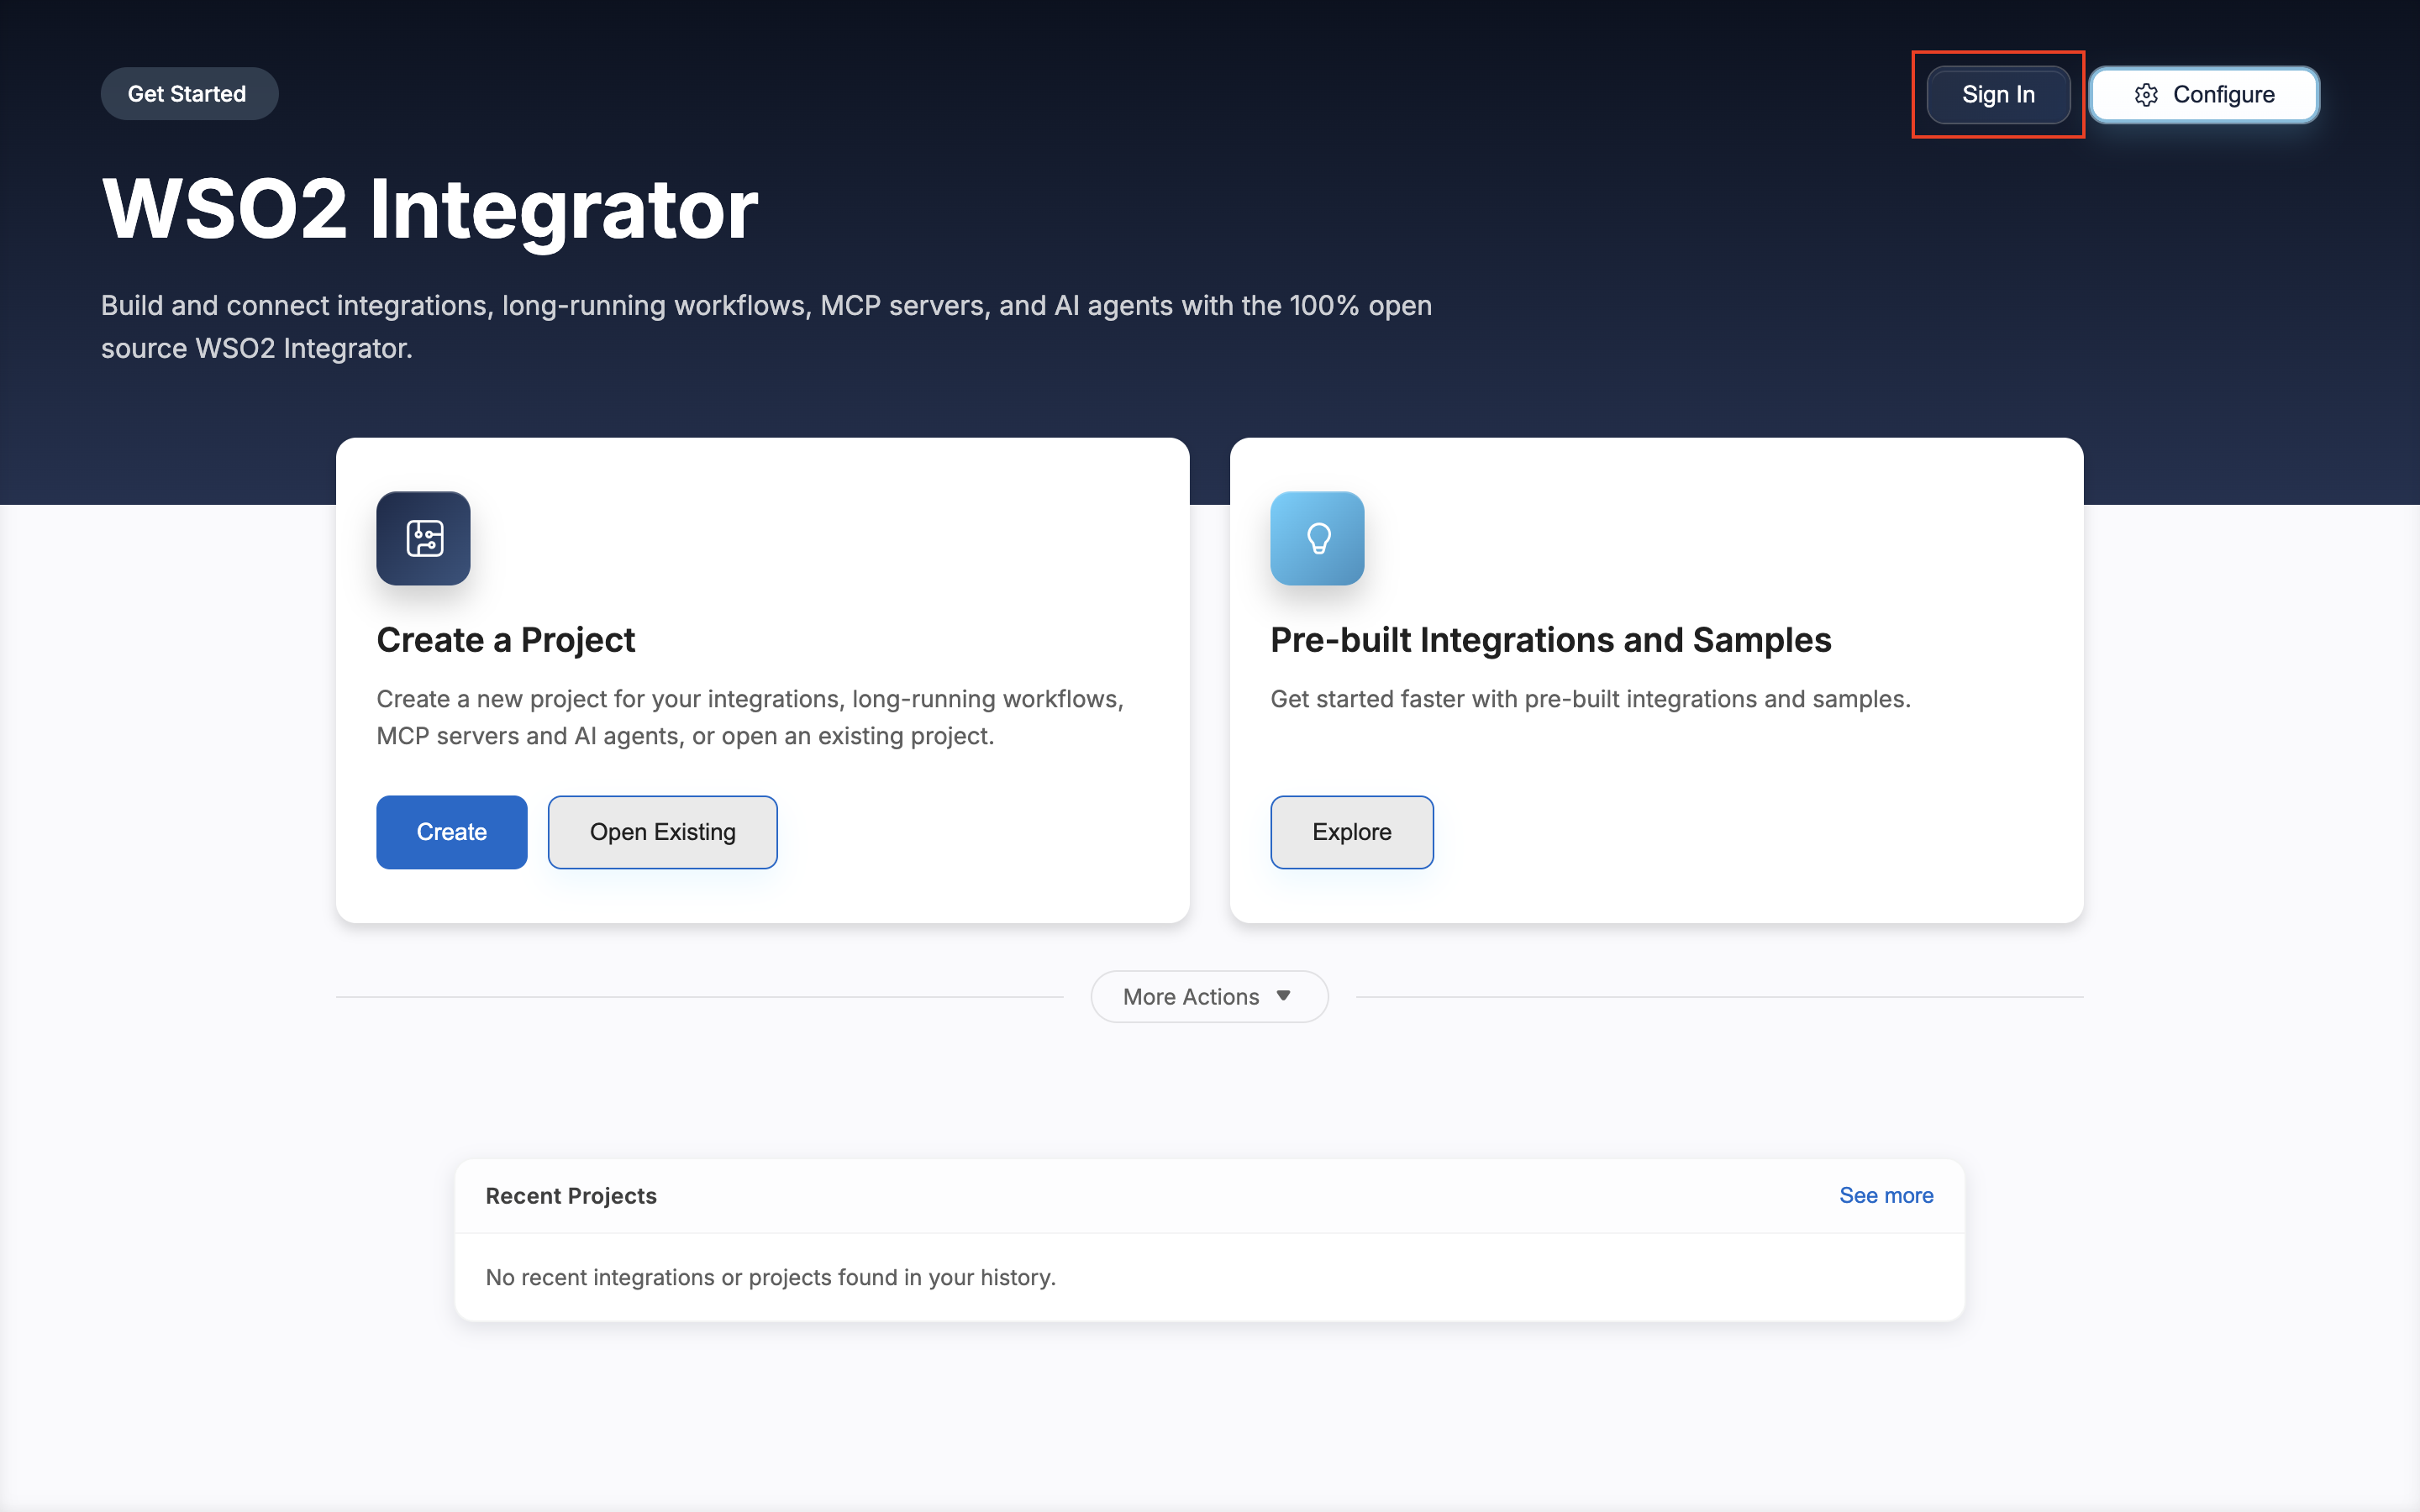
If you click Skip for now, you can sign in later by clicking Sign In in the top-right corner of the Get Started page.
-
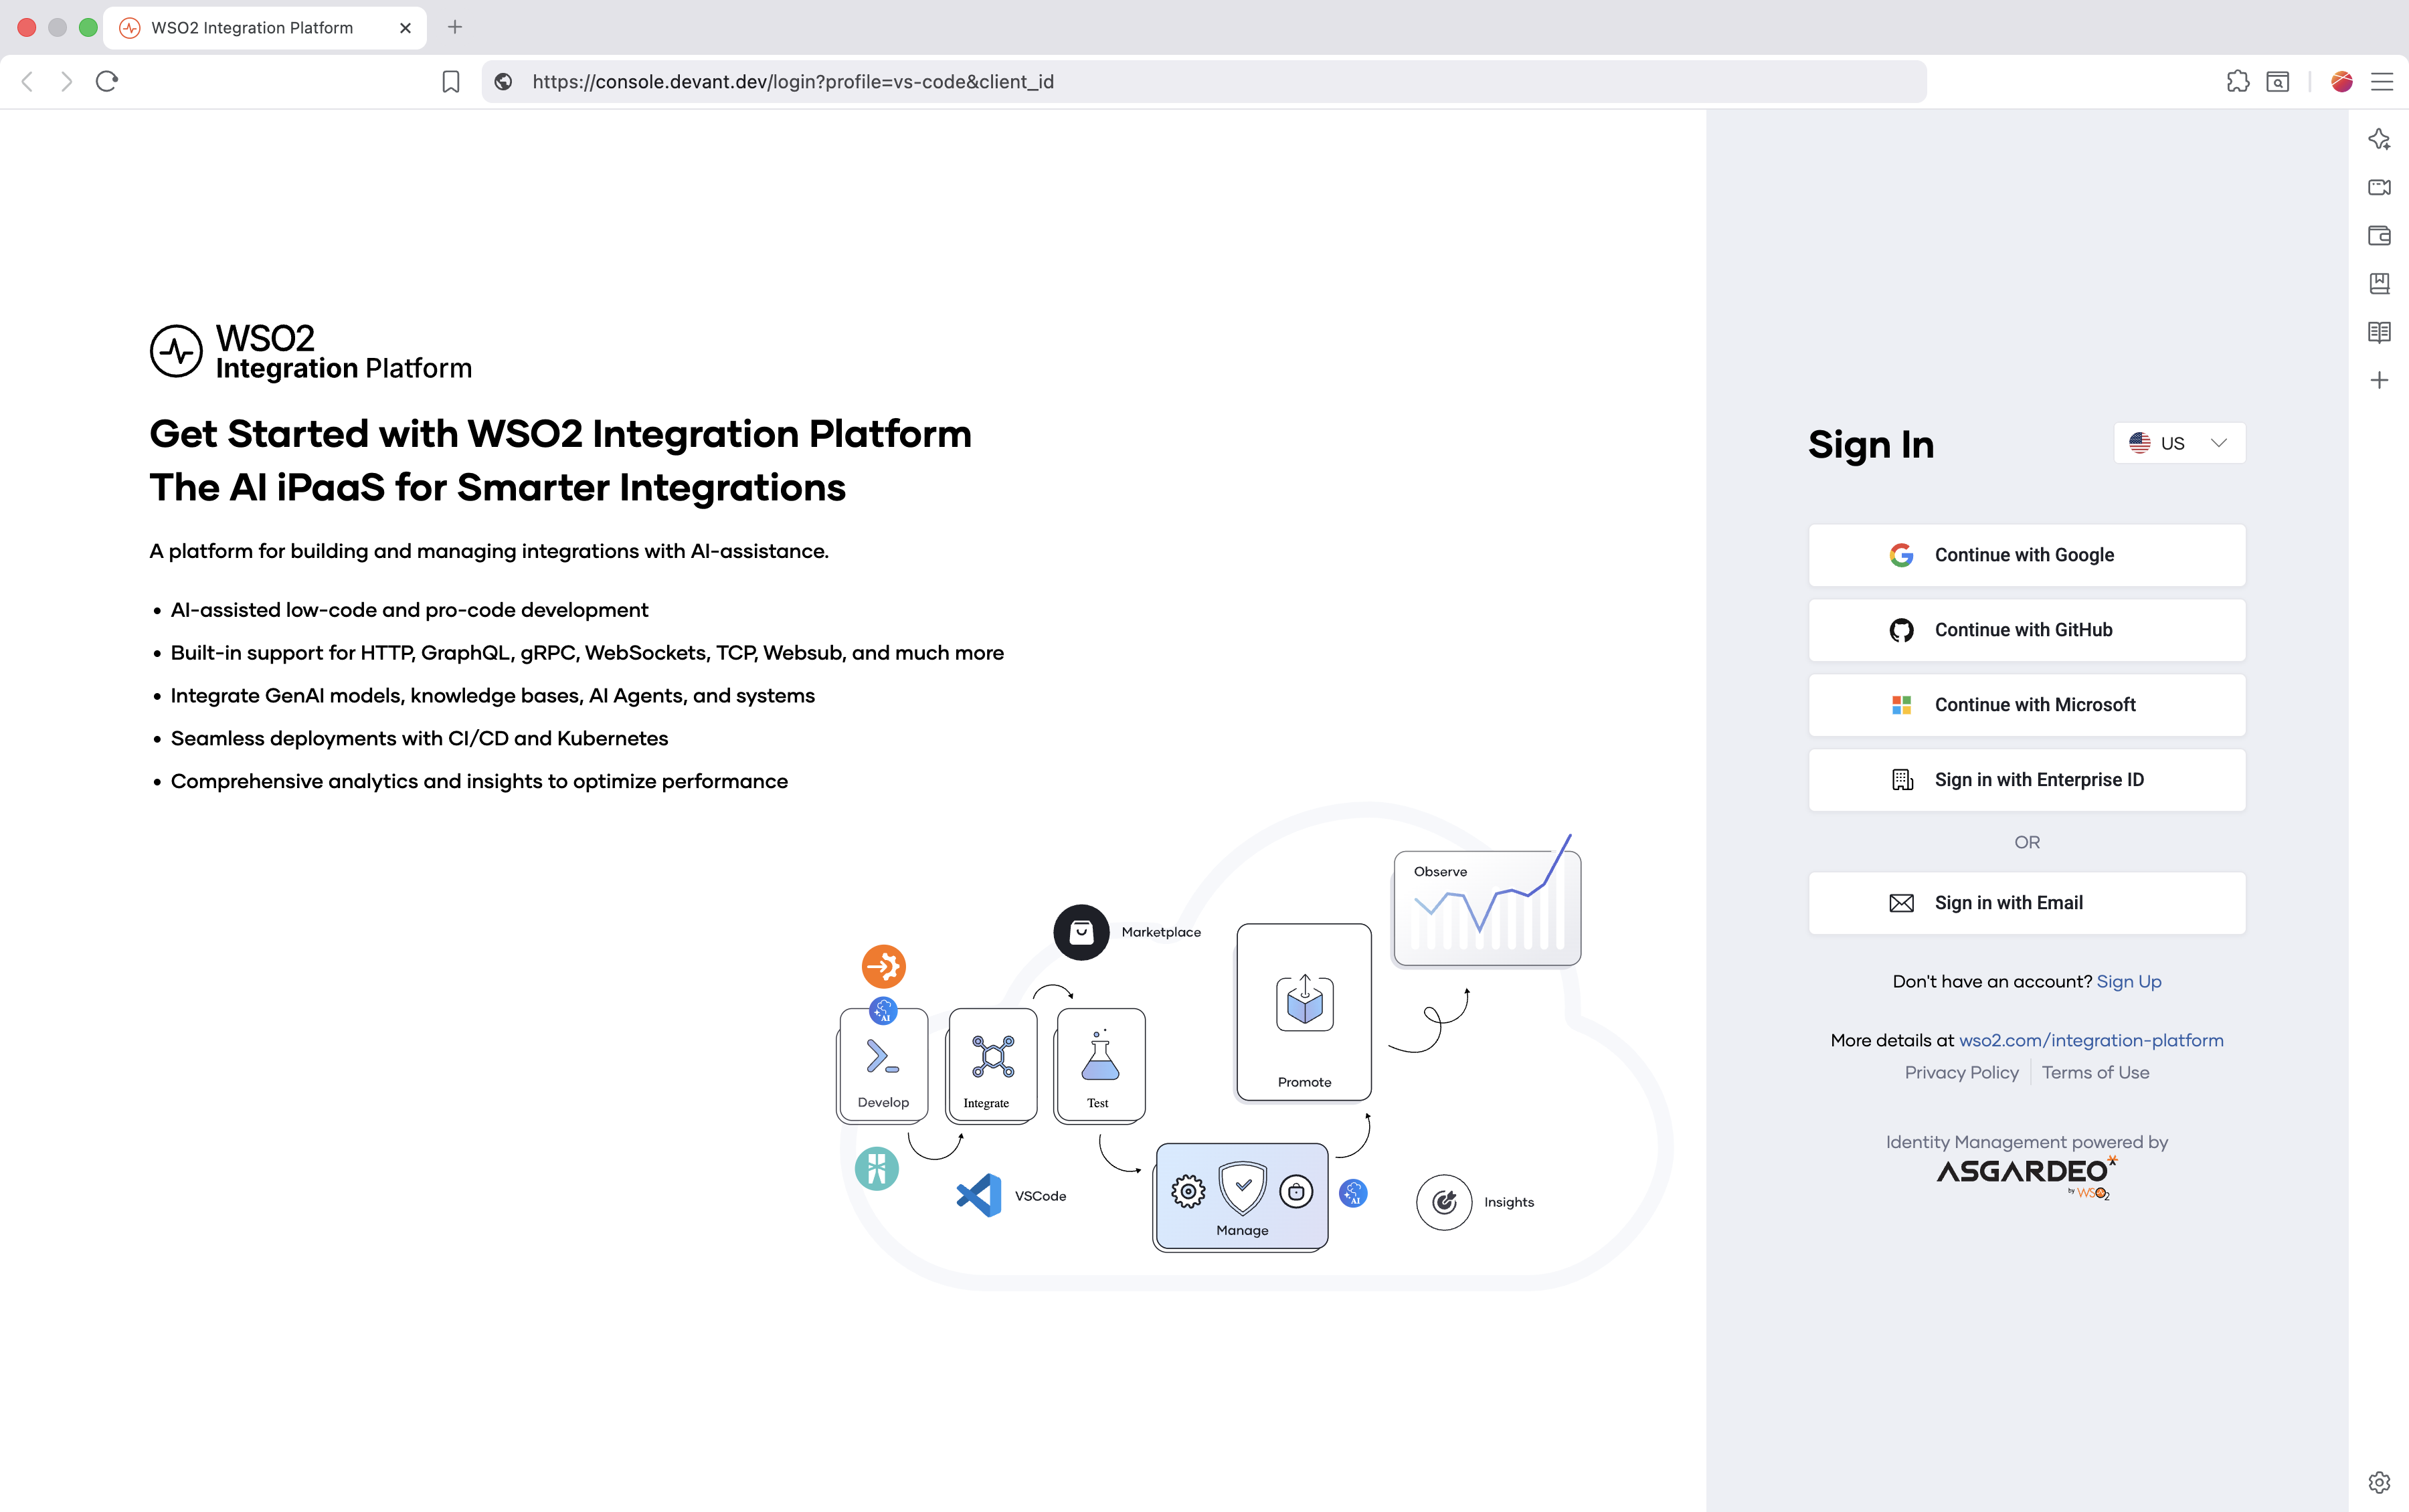
The WSO2 Integration Platform sign-in page opens up in your default browser. Sign in using your preferred method.
-
When the browser prompts you, click Open WSO2 Integrator to return to the editor.
-
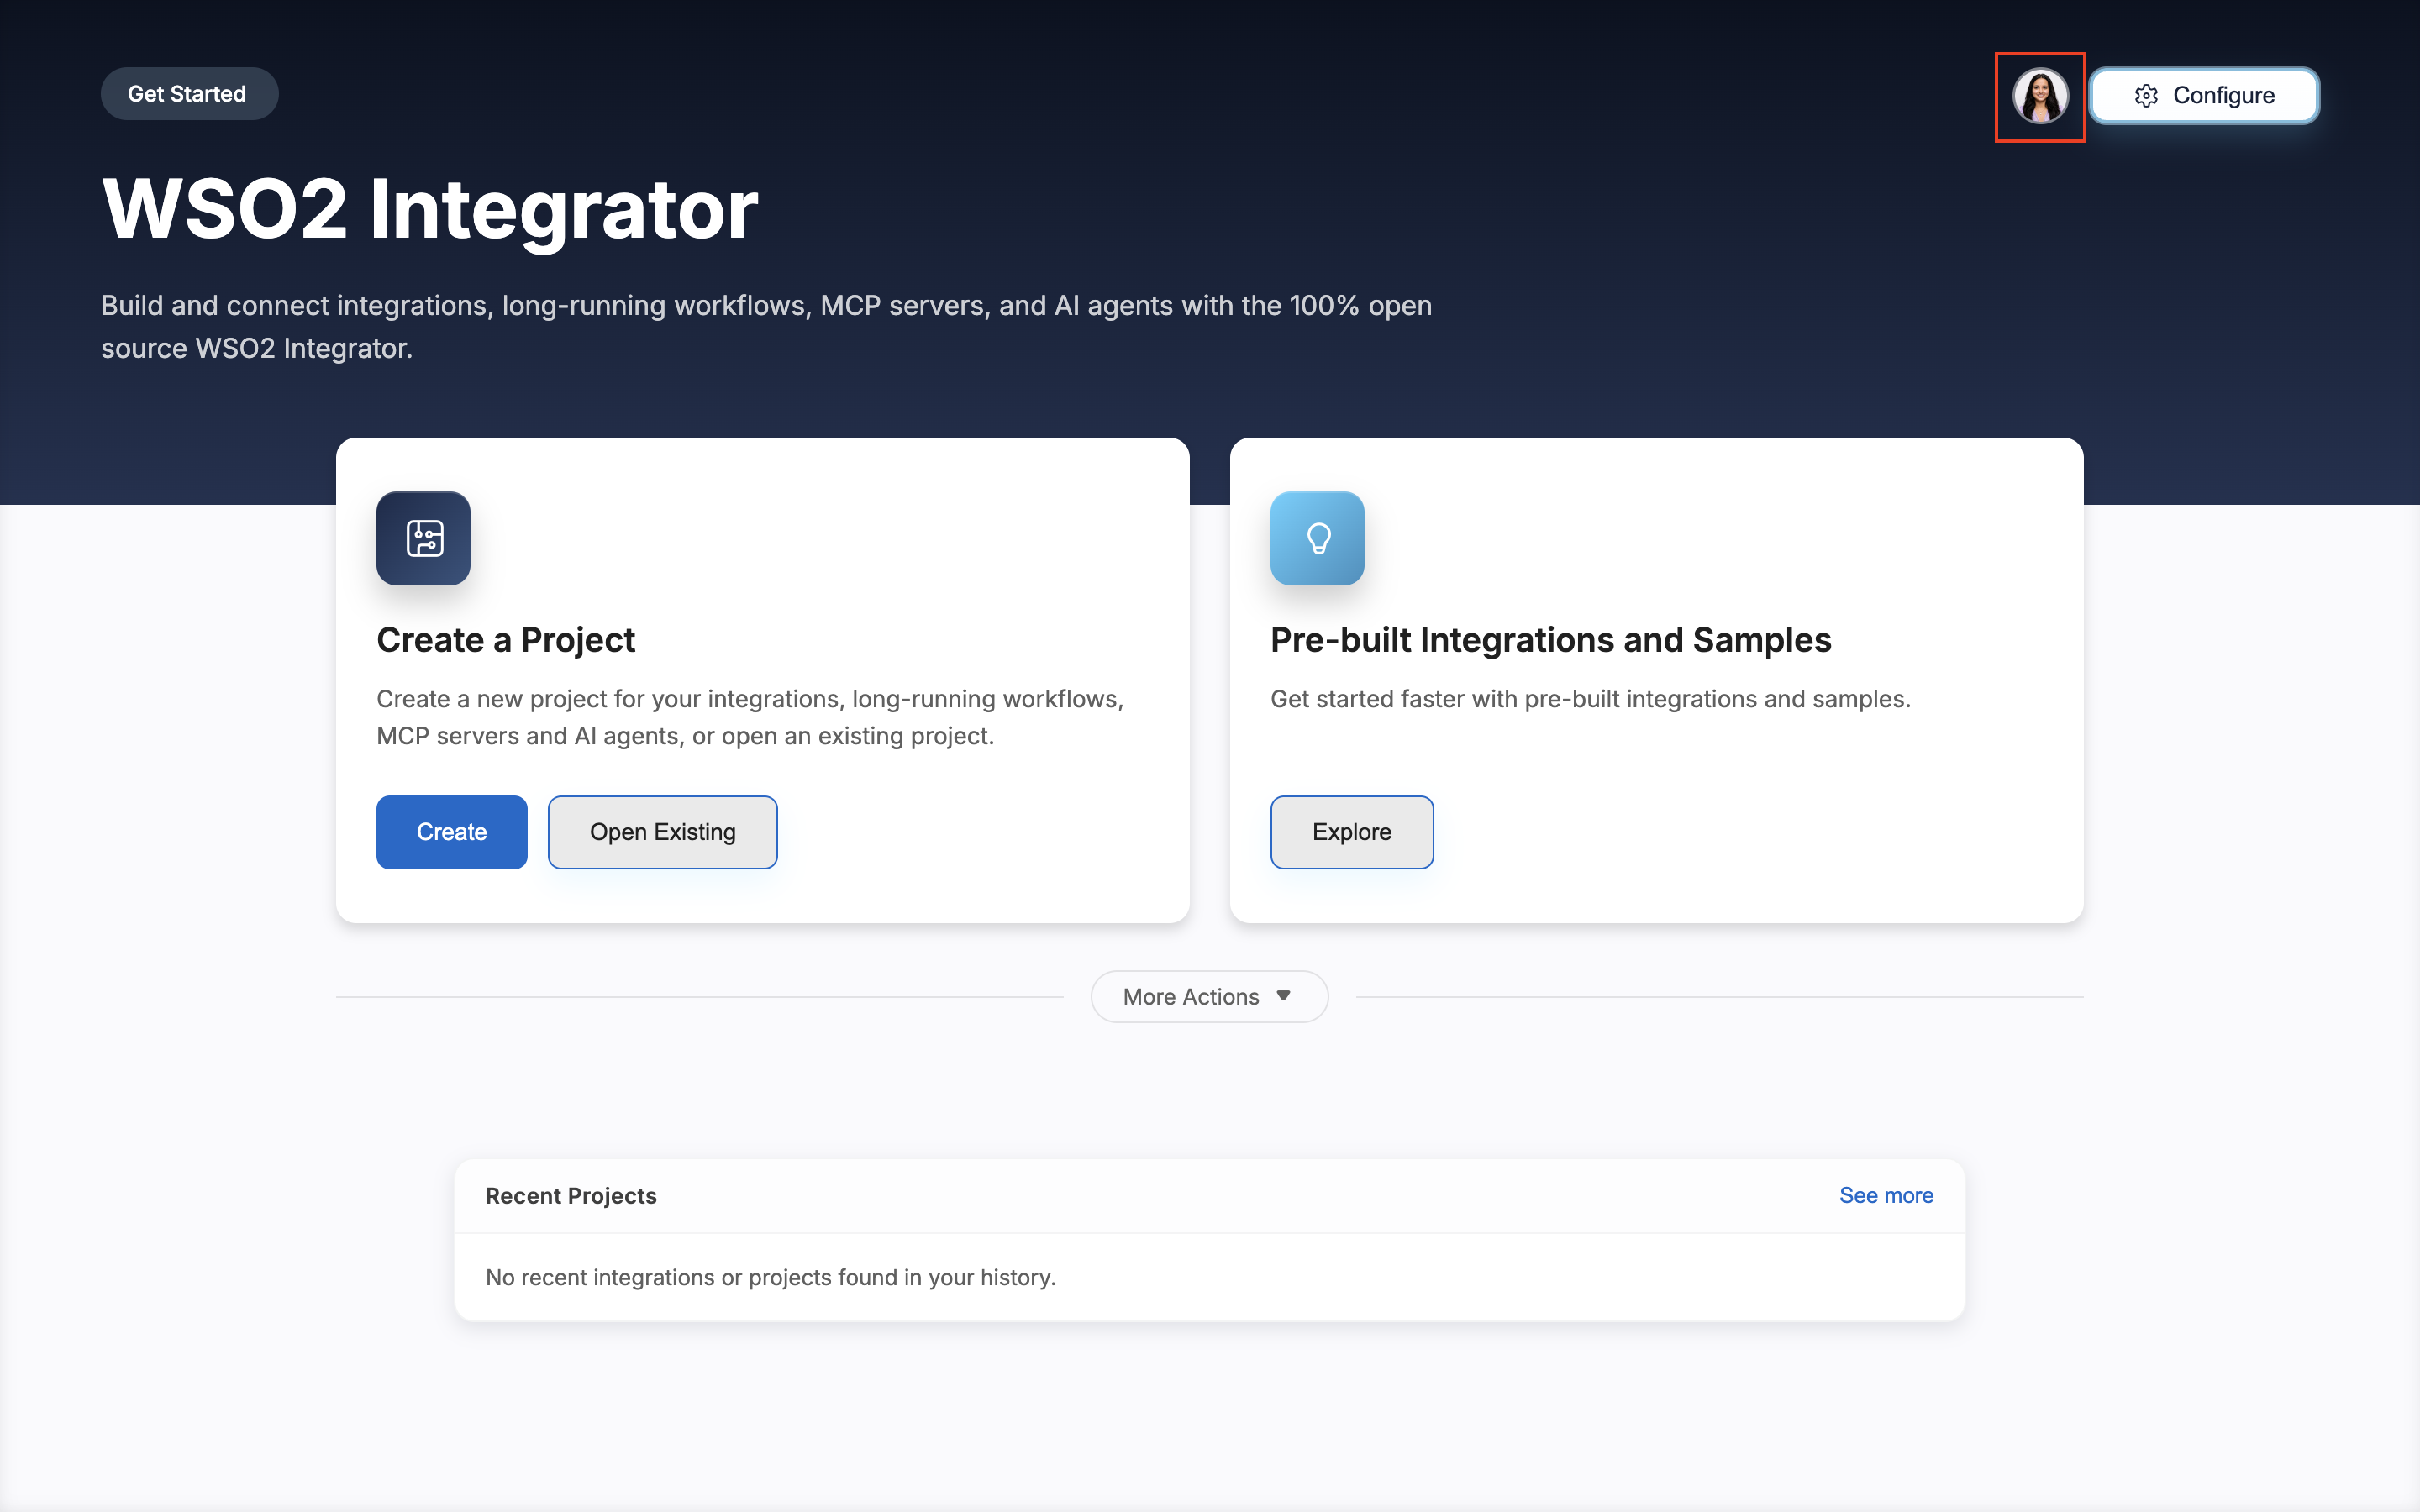
The editor shows a Successfully signed into WSO2 Integration Platform notification, and your account avatar appears in the top-right corner.
Create one and set up your organization by following Cloud setup in the WSO2 Cloud documentation, then return here to sign in.
Update WSO2 Integrator
WSO2 Integrator includes a built-in updater that automatically checks for updates to the application and its bundled components, including the Ballerina runtime, Java runtime, Integration Control Plane (ICP), and the wso2.ballerina extension. You don't need to download or reinstall WSO2 Integrator to keep it up to date.
Check for updates
WSO2 Integrator checks for updates in the background and notifies you when updates are available. You can check for updates manually as follows.
- macOS
- Windows
On the menu bar, click WSO2 Integrator, and then click Check for Updates....
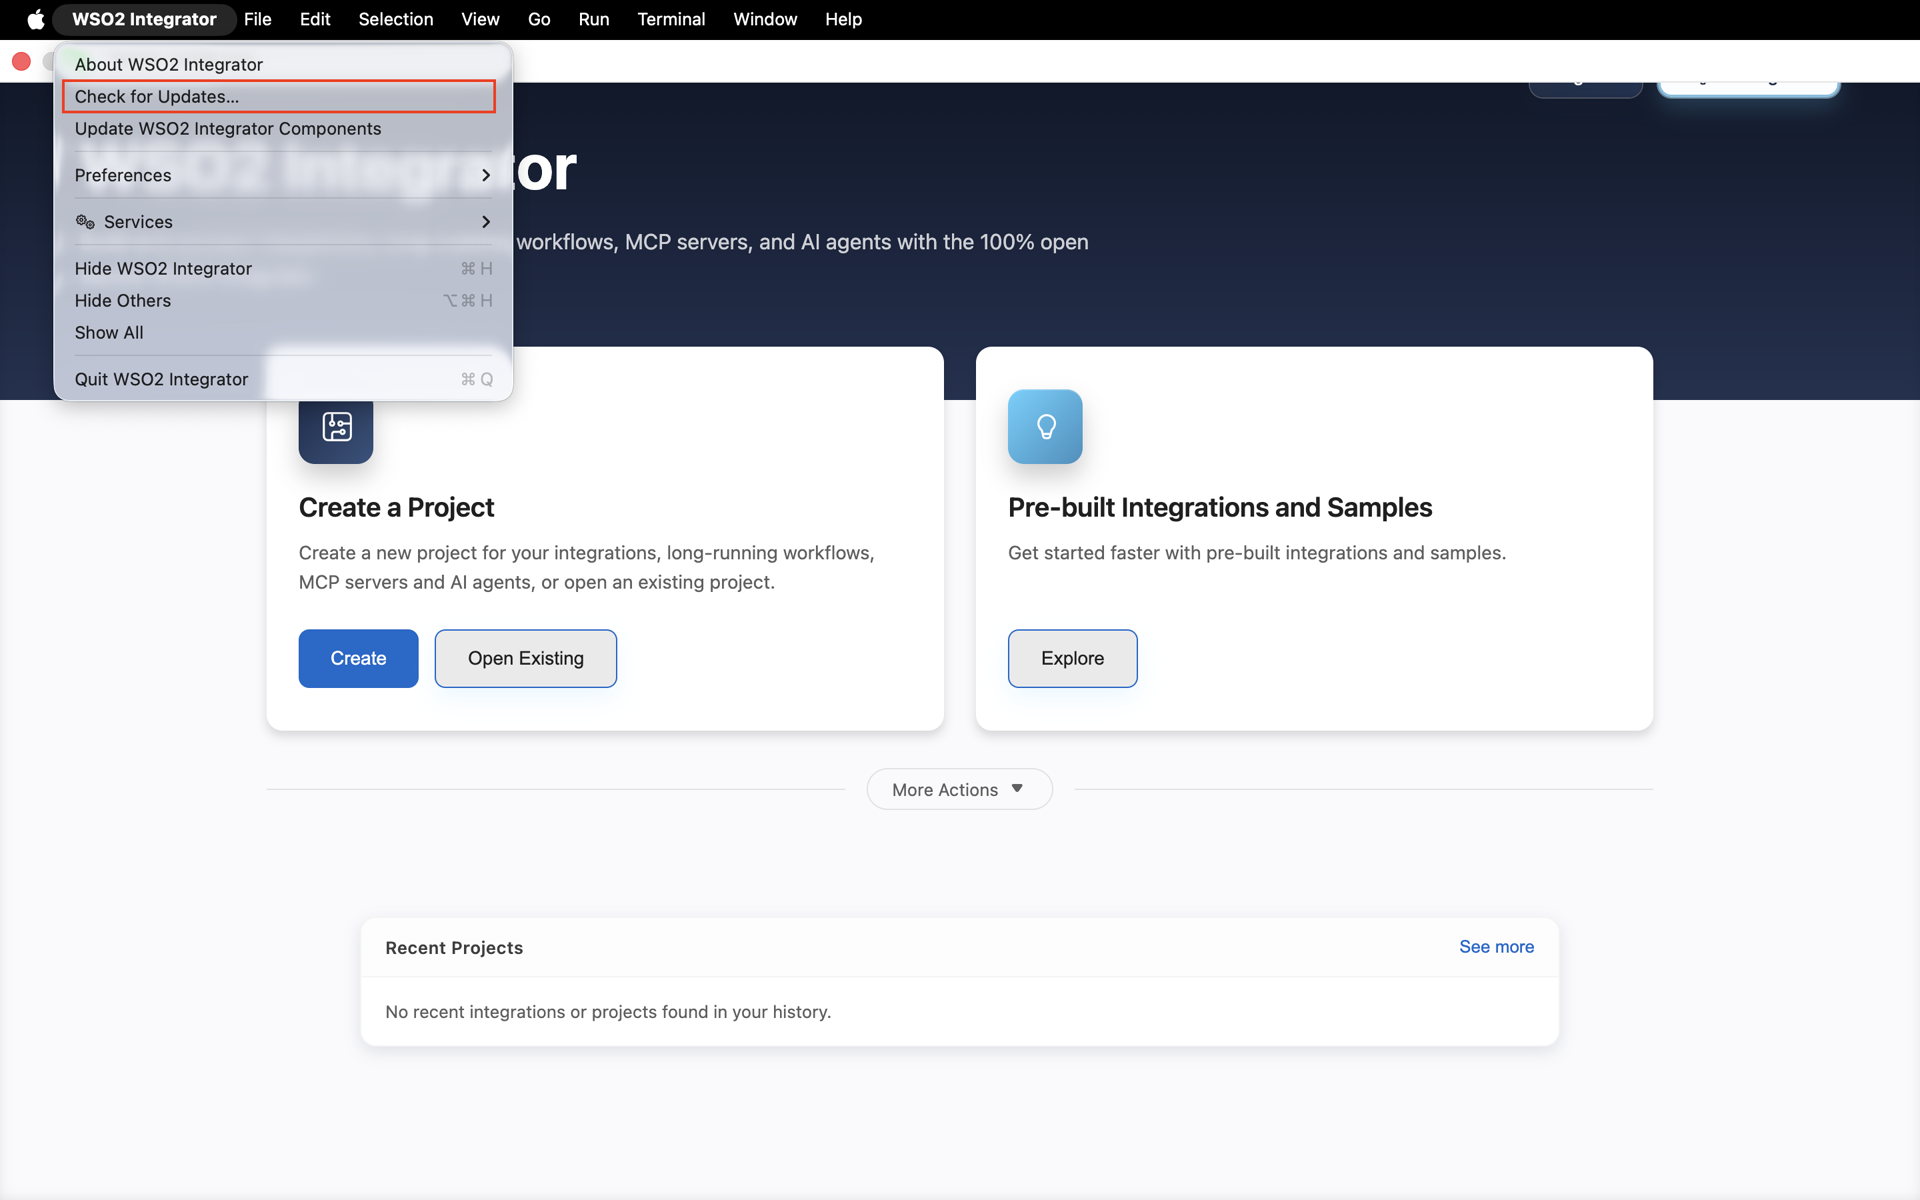
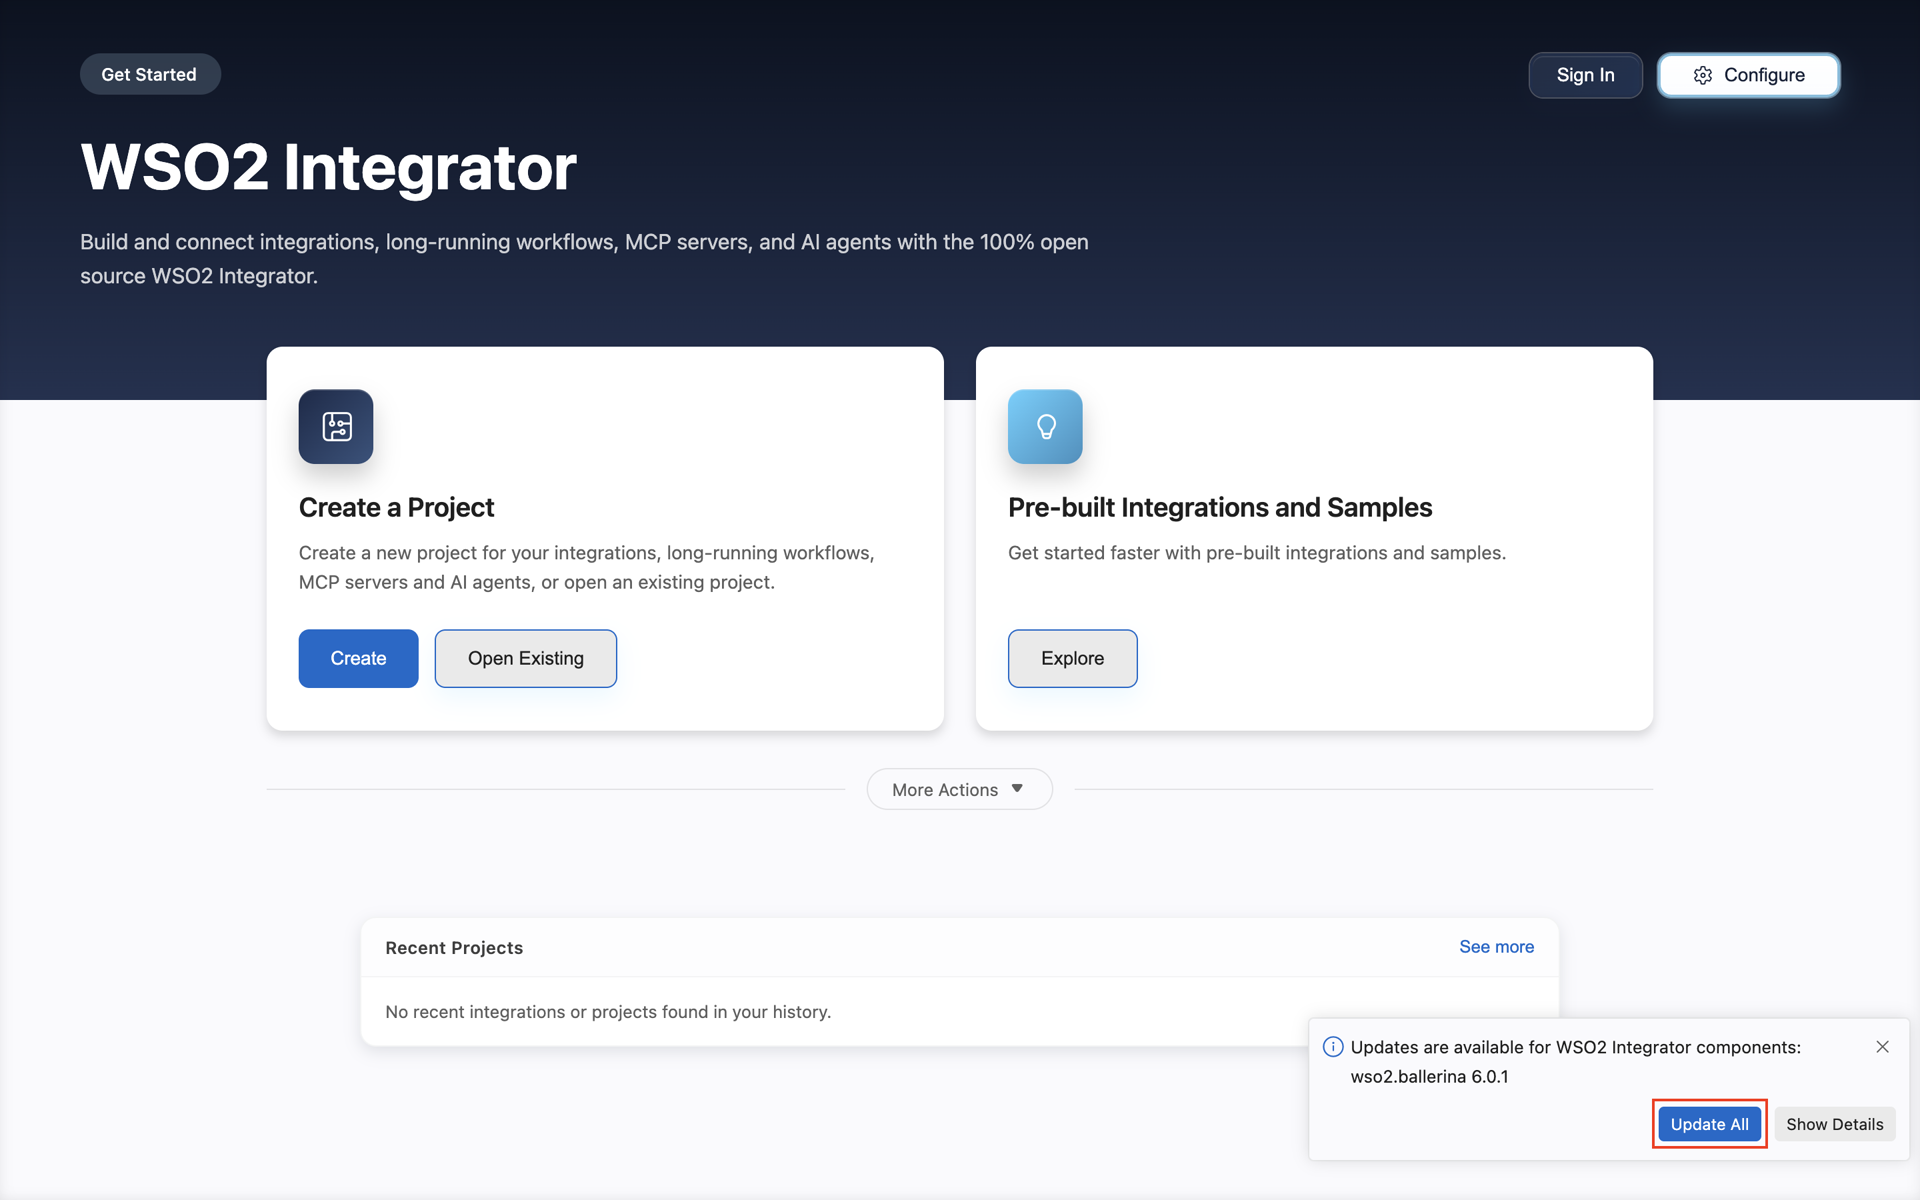
If updates are available, WSO2 Integrator shows a notification with an Update All button.
To install the updates:
-
Click Update All in the notification to download and install the updates for all components. To preview the available updates first, select Show Details.
Show Details shows the updates for each component individually.
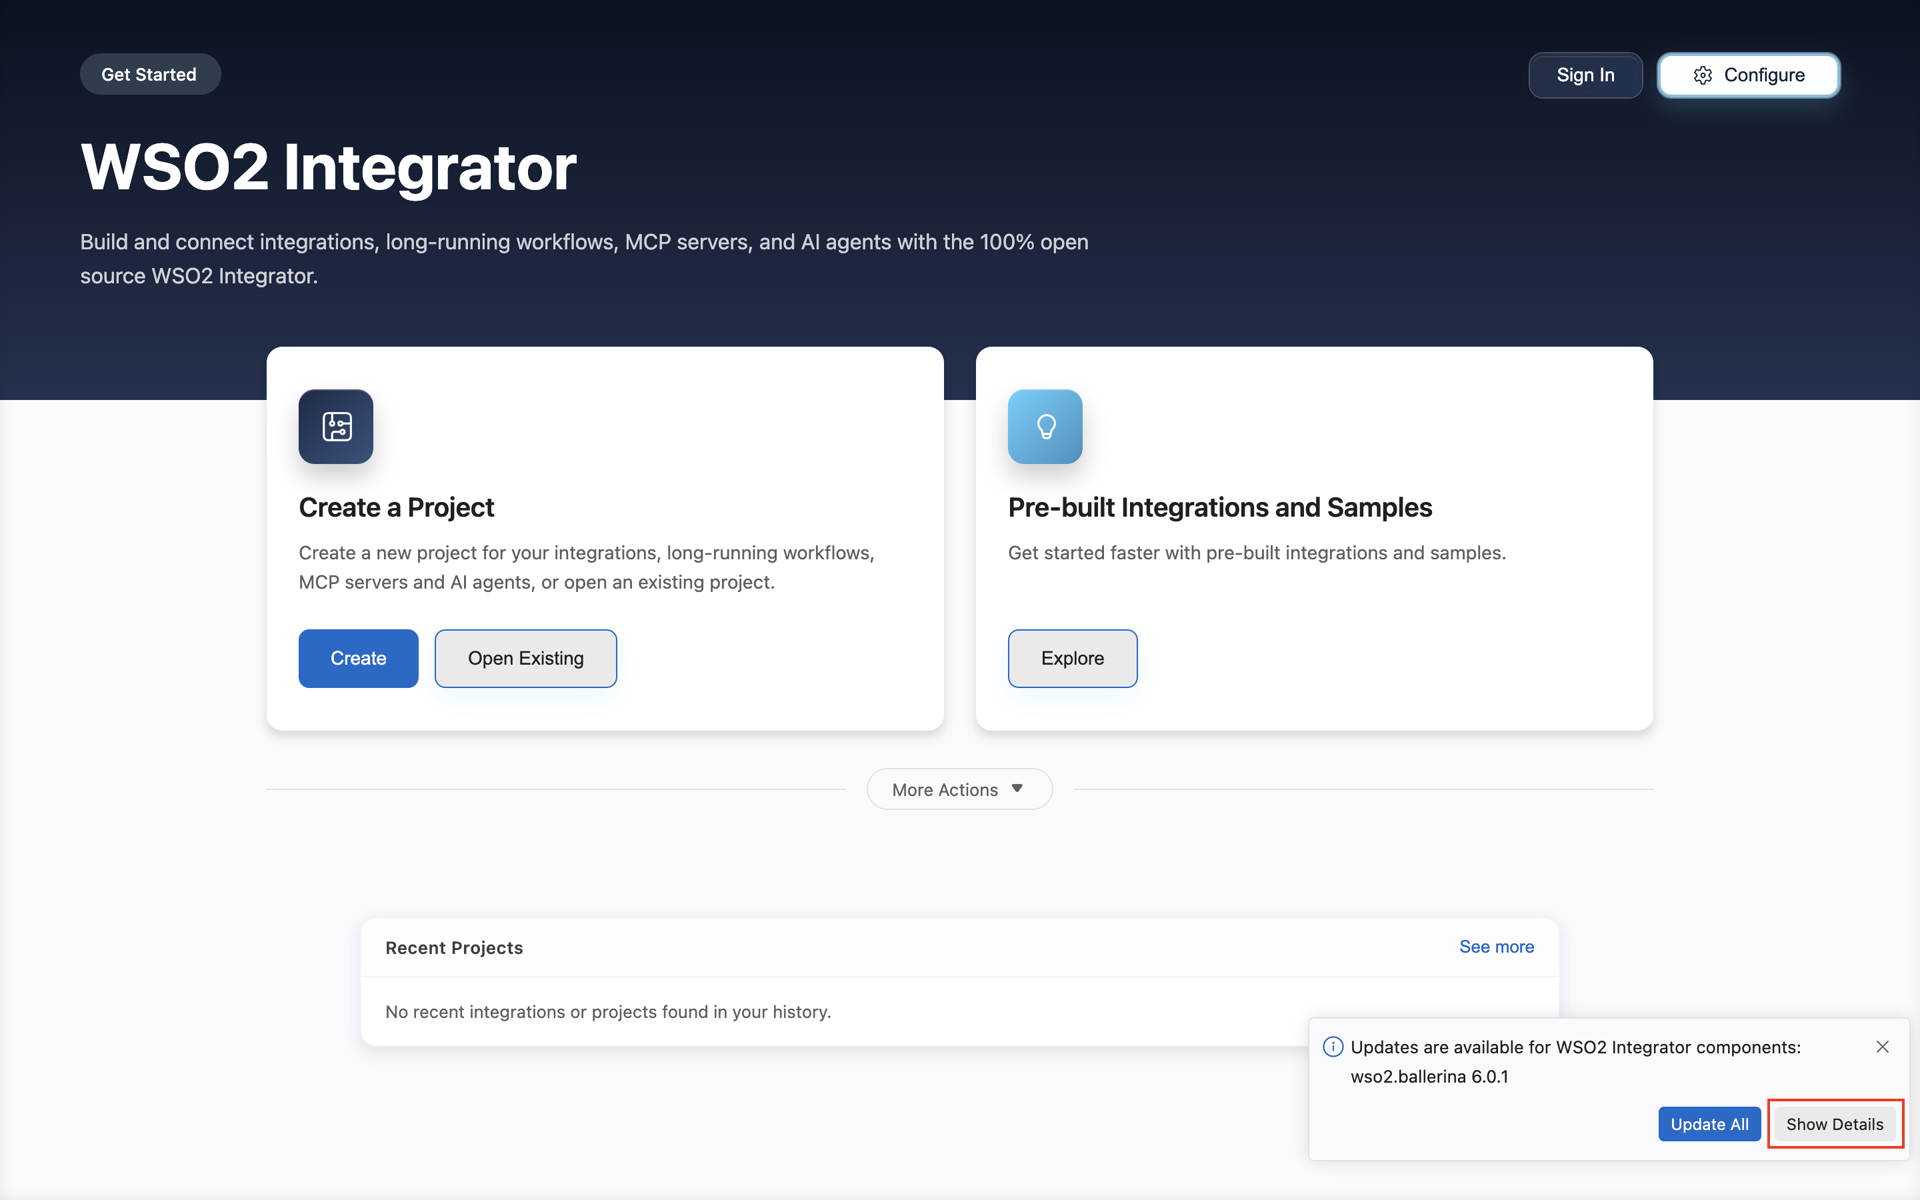
Each component shows its current version. A component that has an update also shows the available version. To update only one component, select a component that shows an available version.
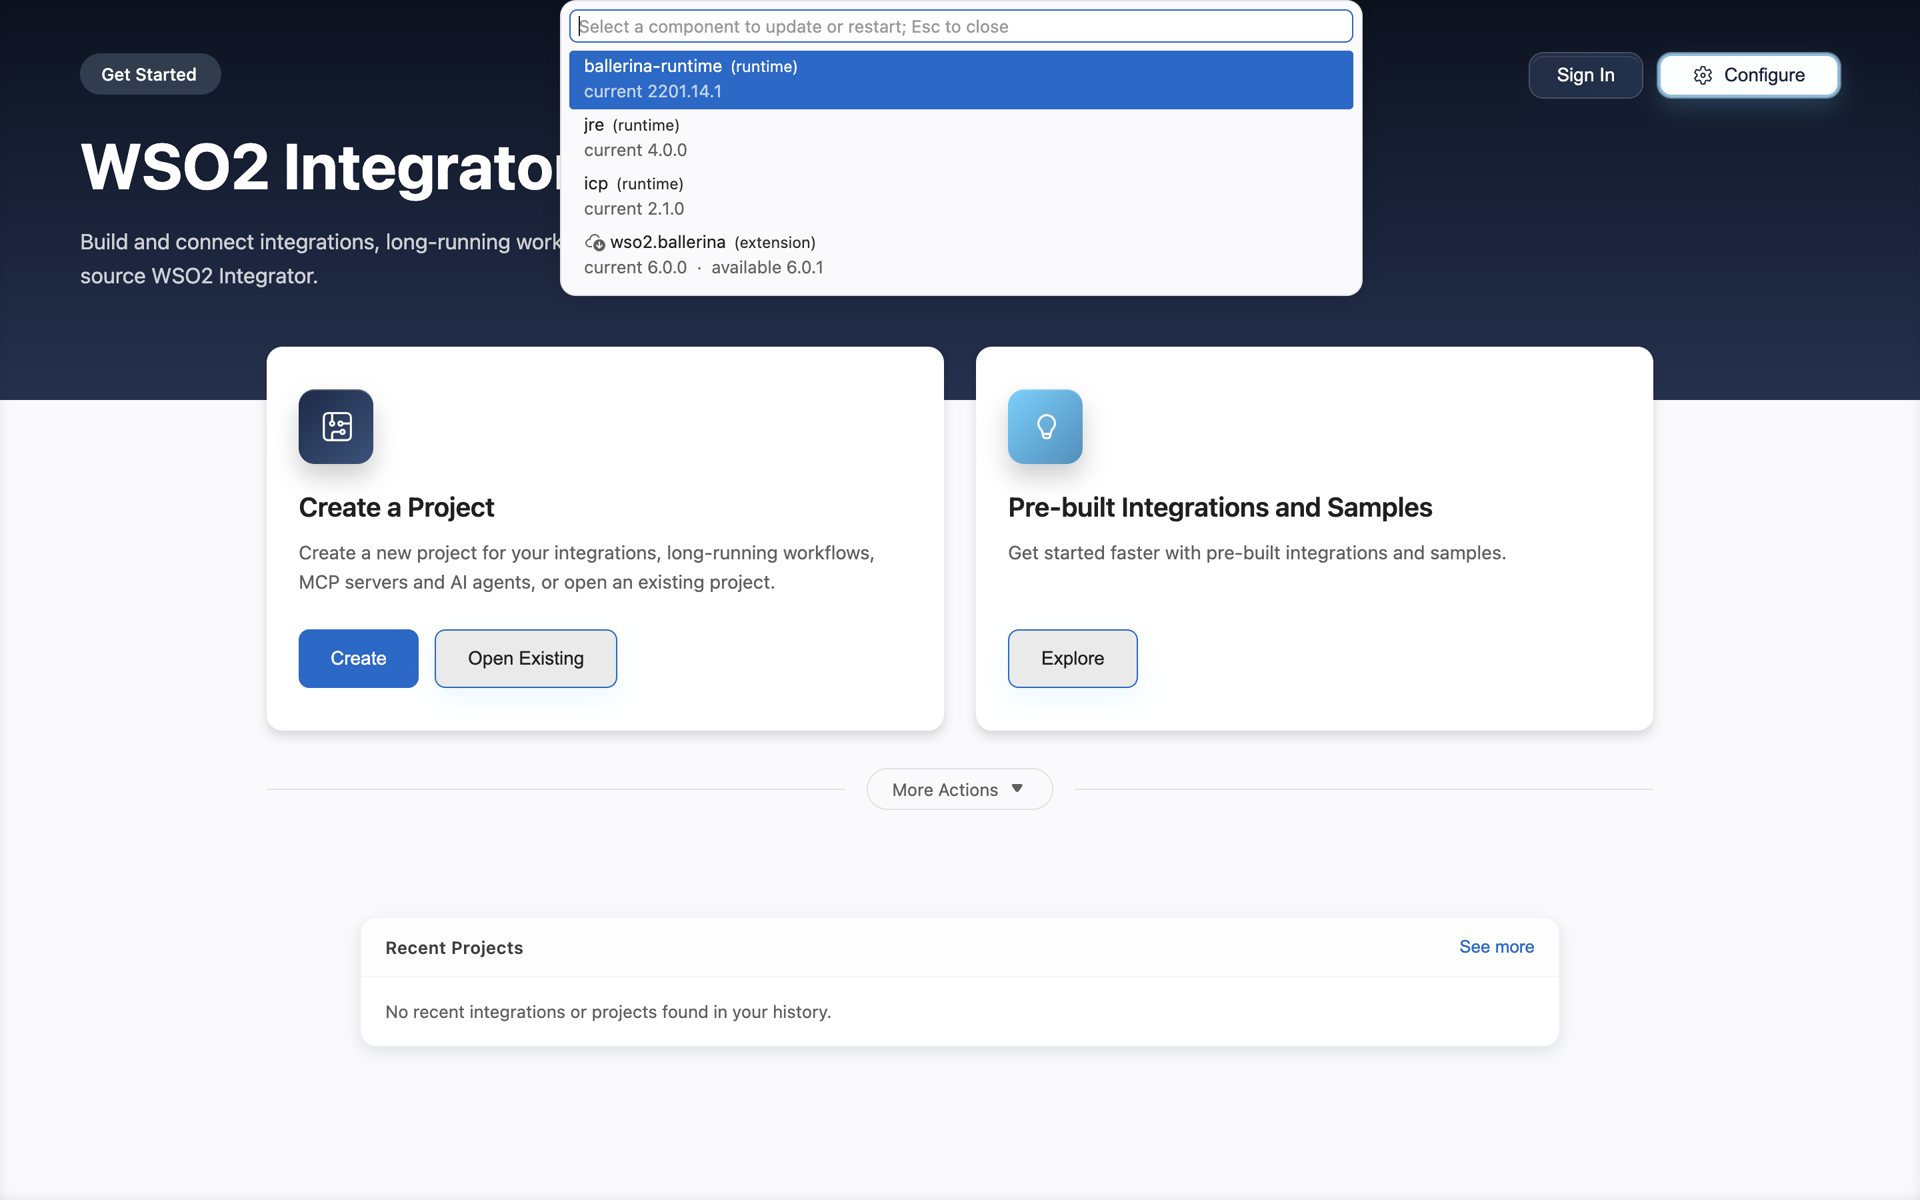
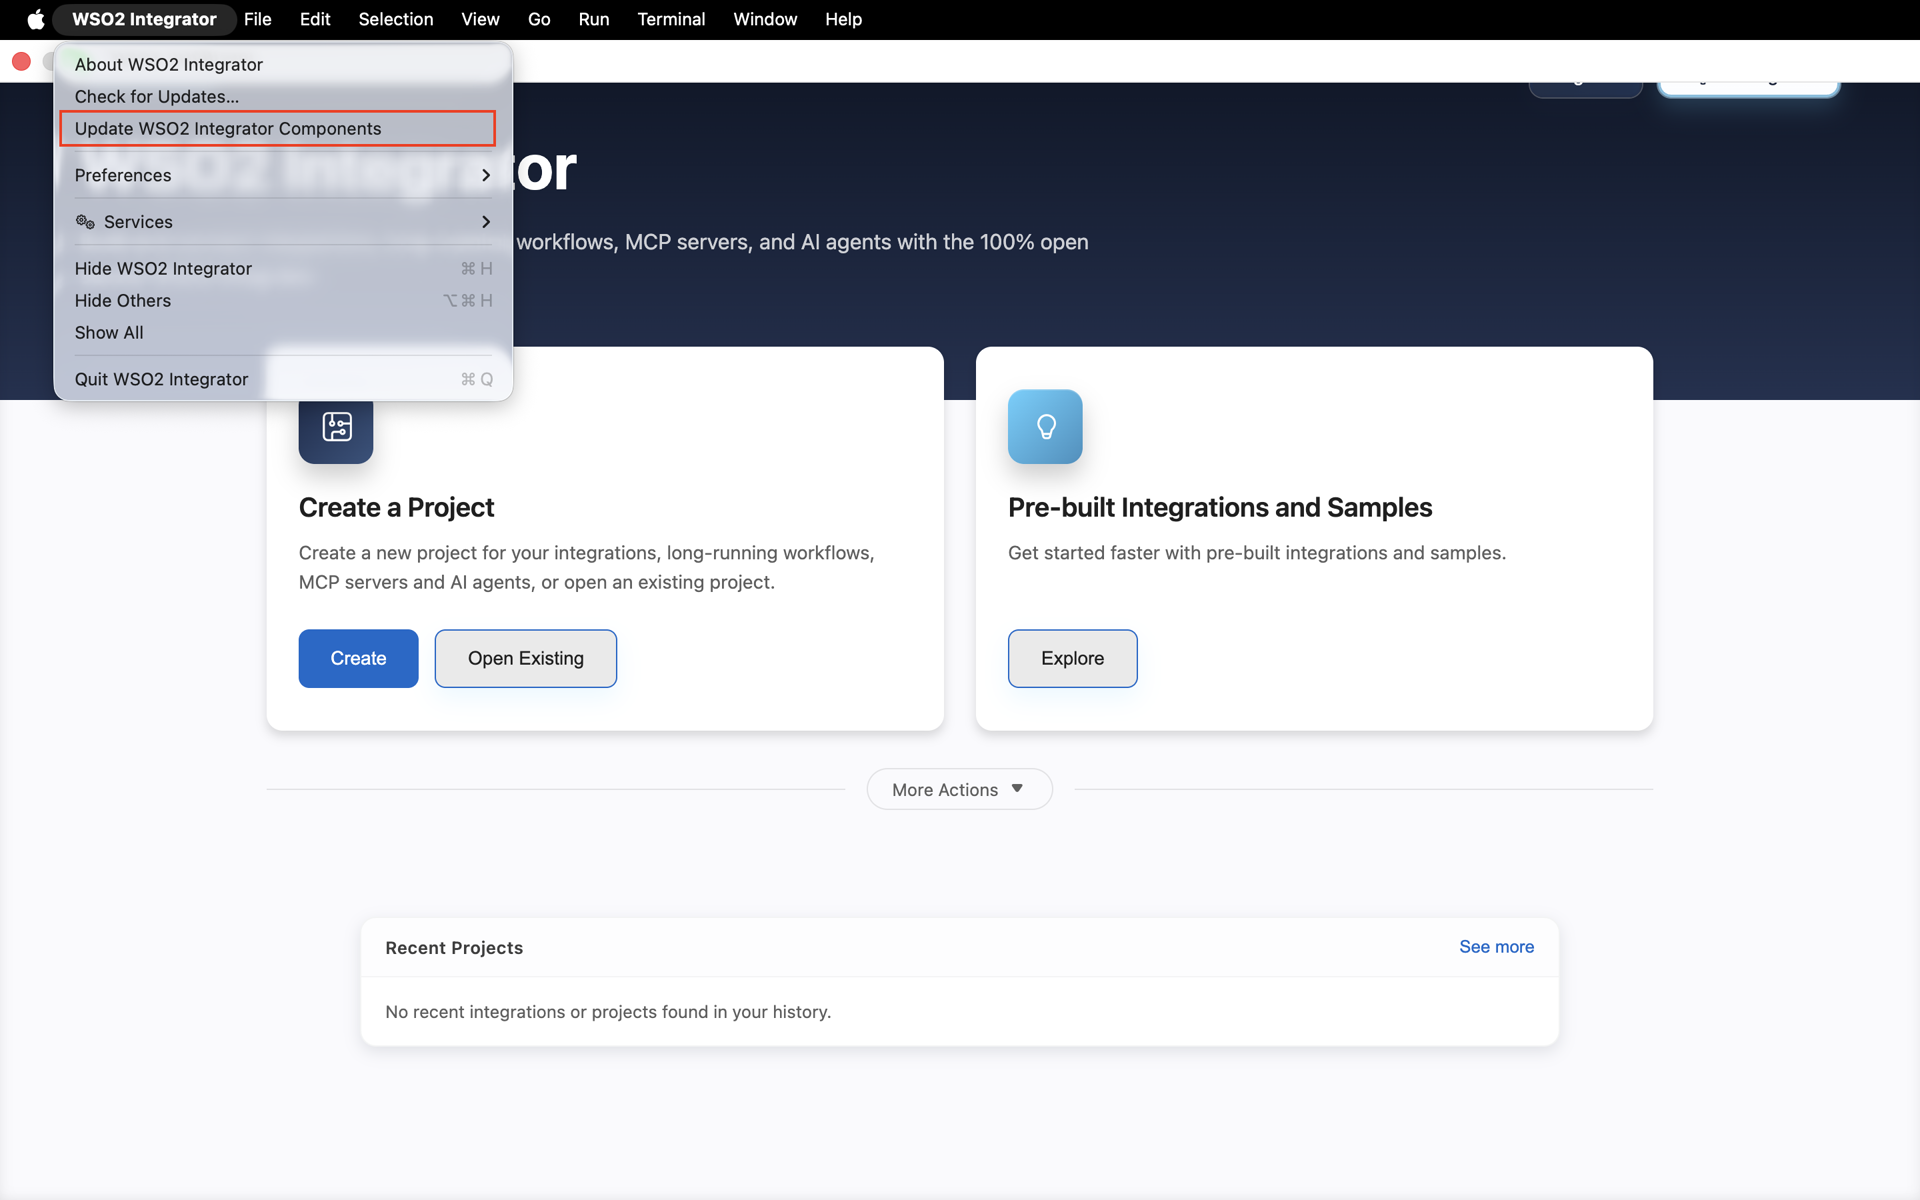
You can also click WSO2 Integrator > Update WSO2 Integrator Components on the menu bar. This option only appears when updates are available.
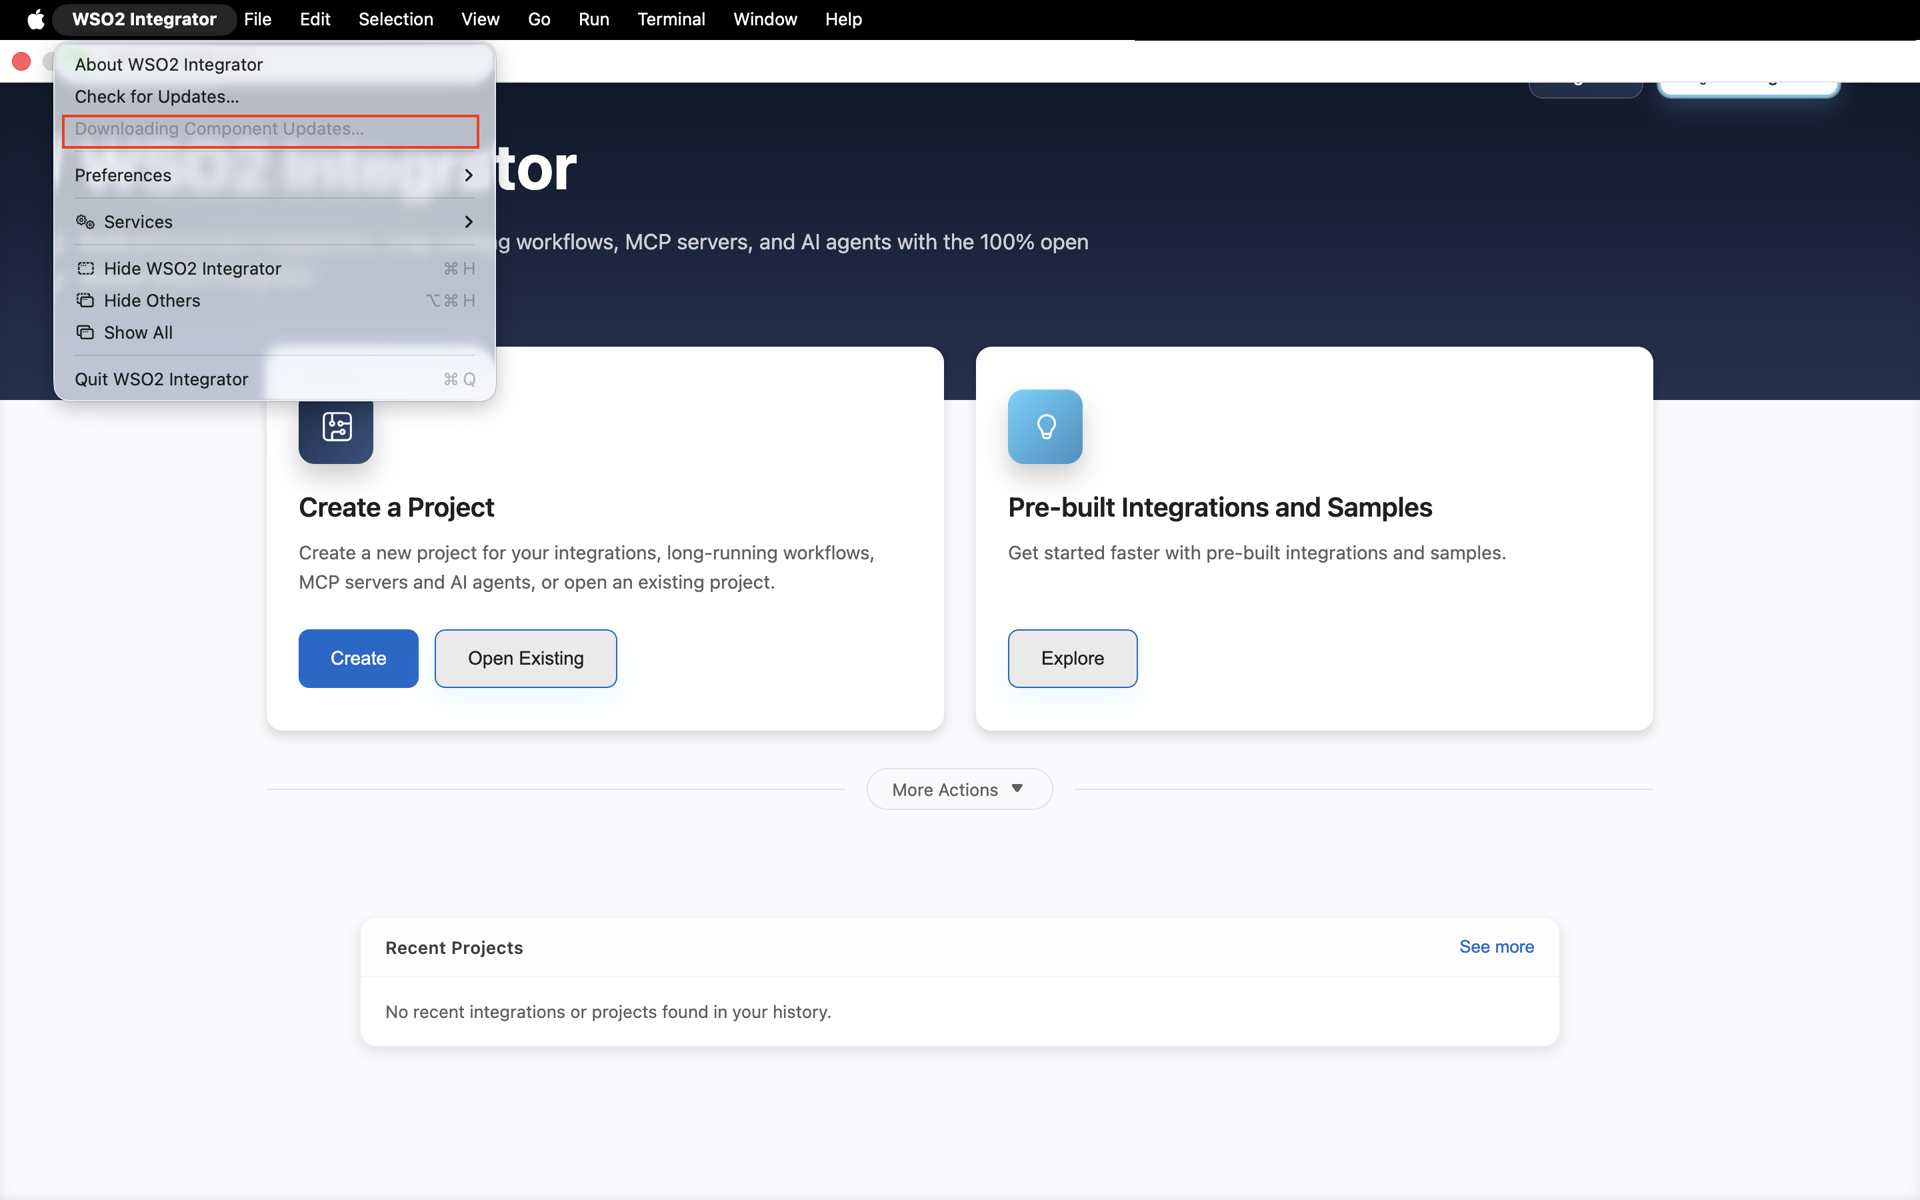
While the update downloads, the menu shows Downloading Component Updates....
-
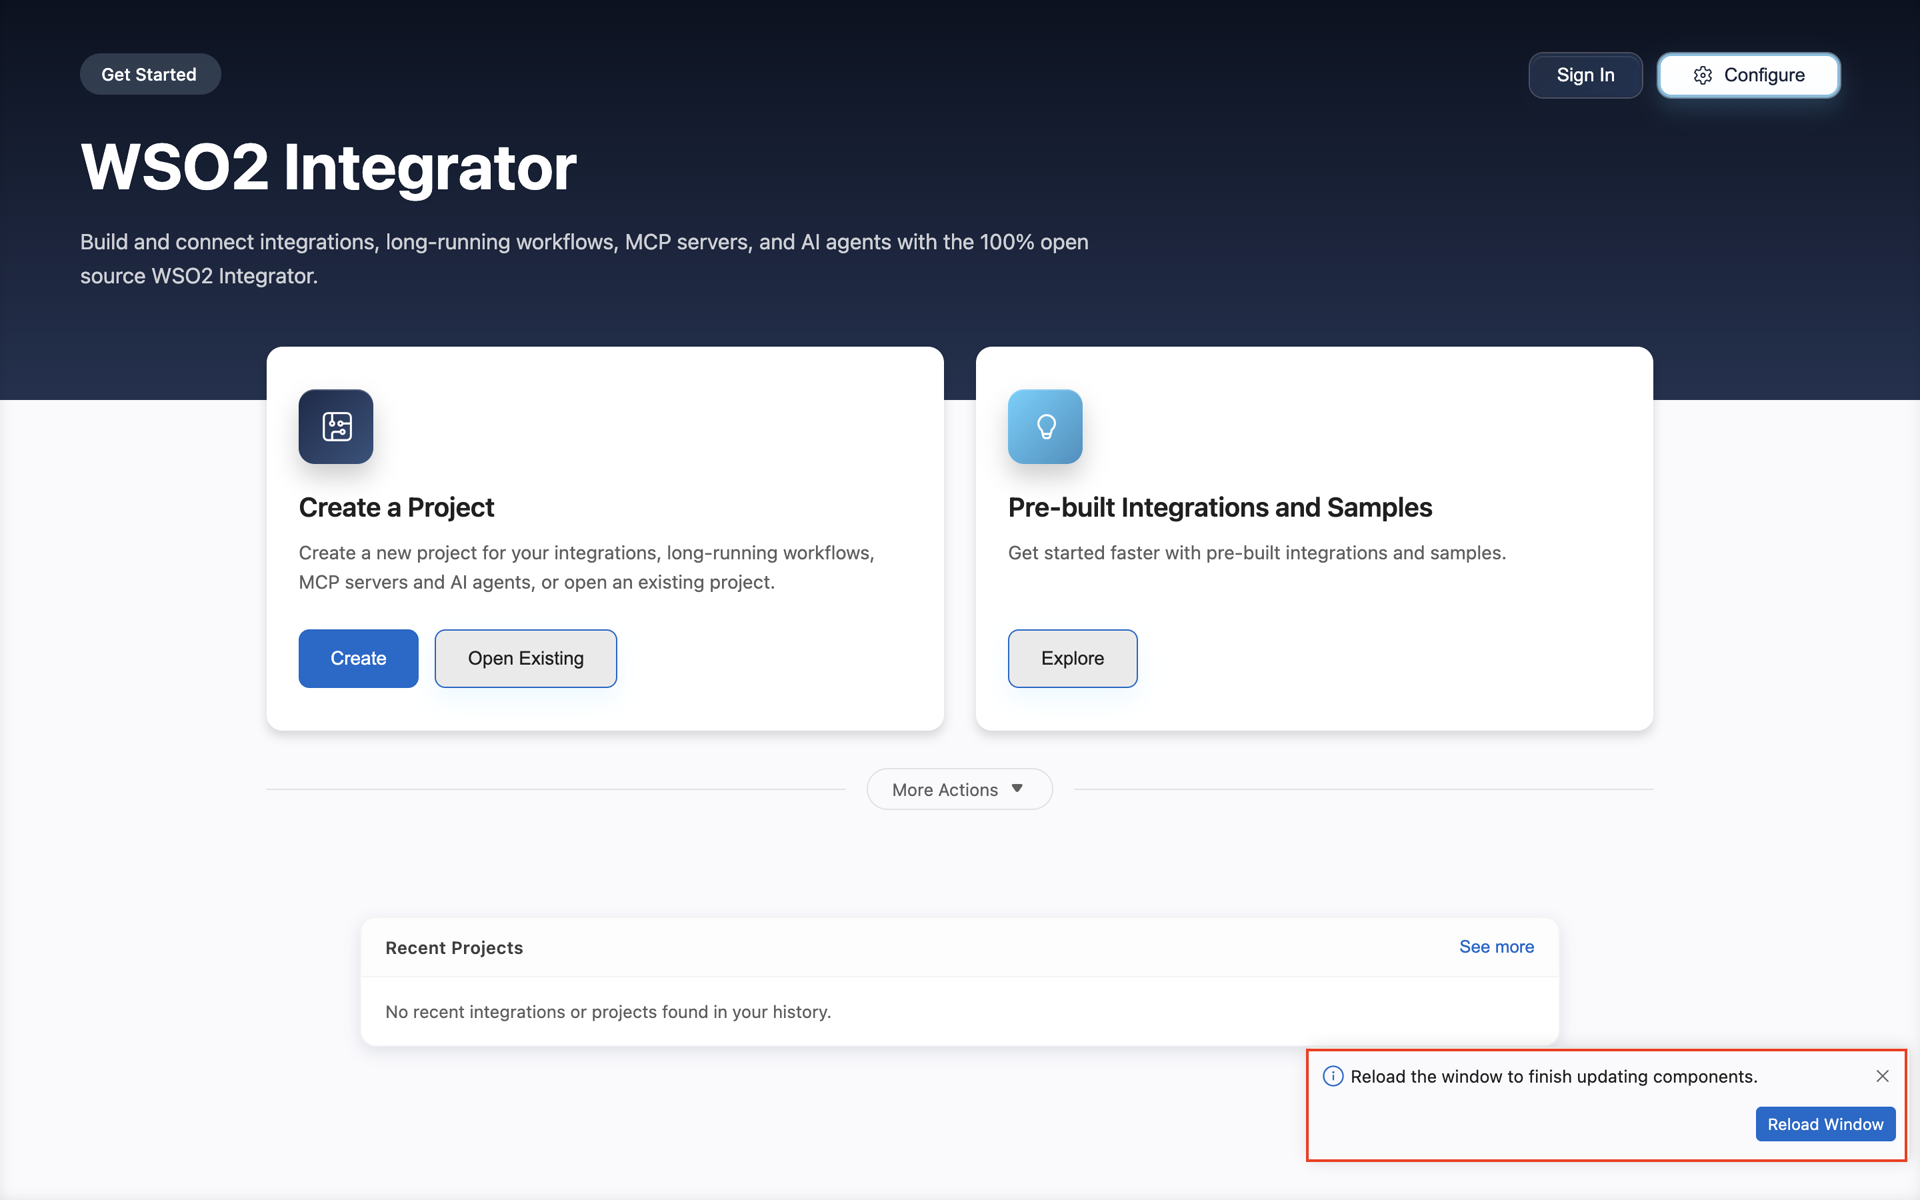
When the download completes, click Reload Window in the notification to finish updating.
-
To confirm the update, click WSO2 Integrator, and then click Check for Updates... again.
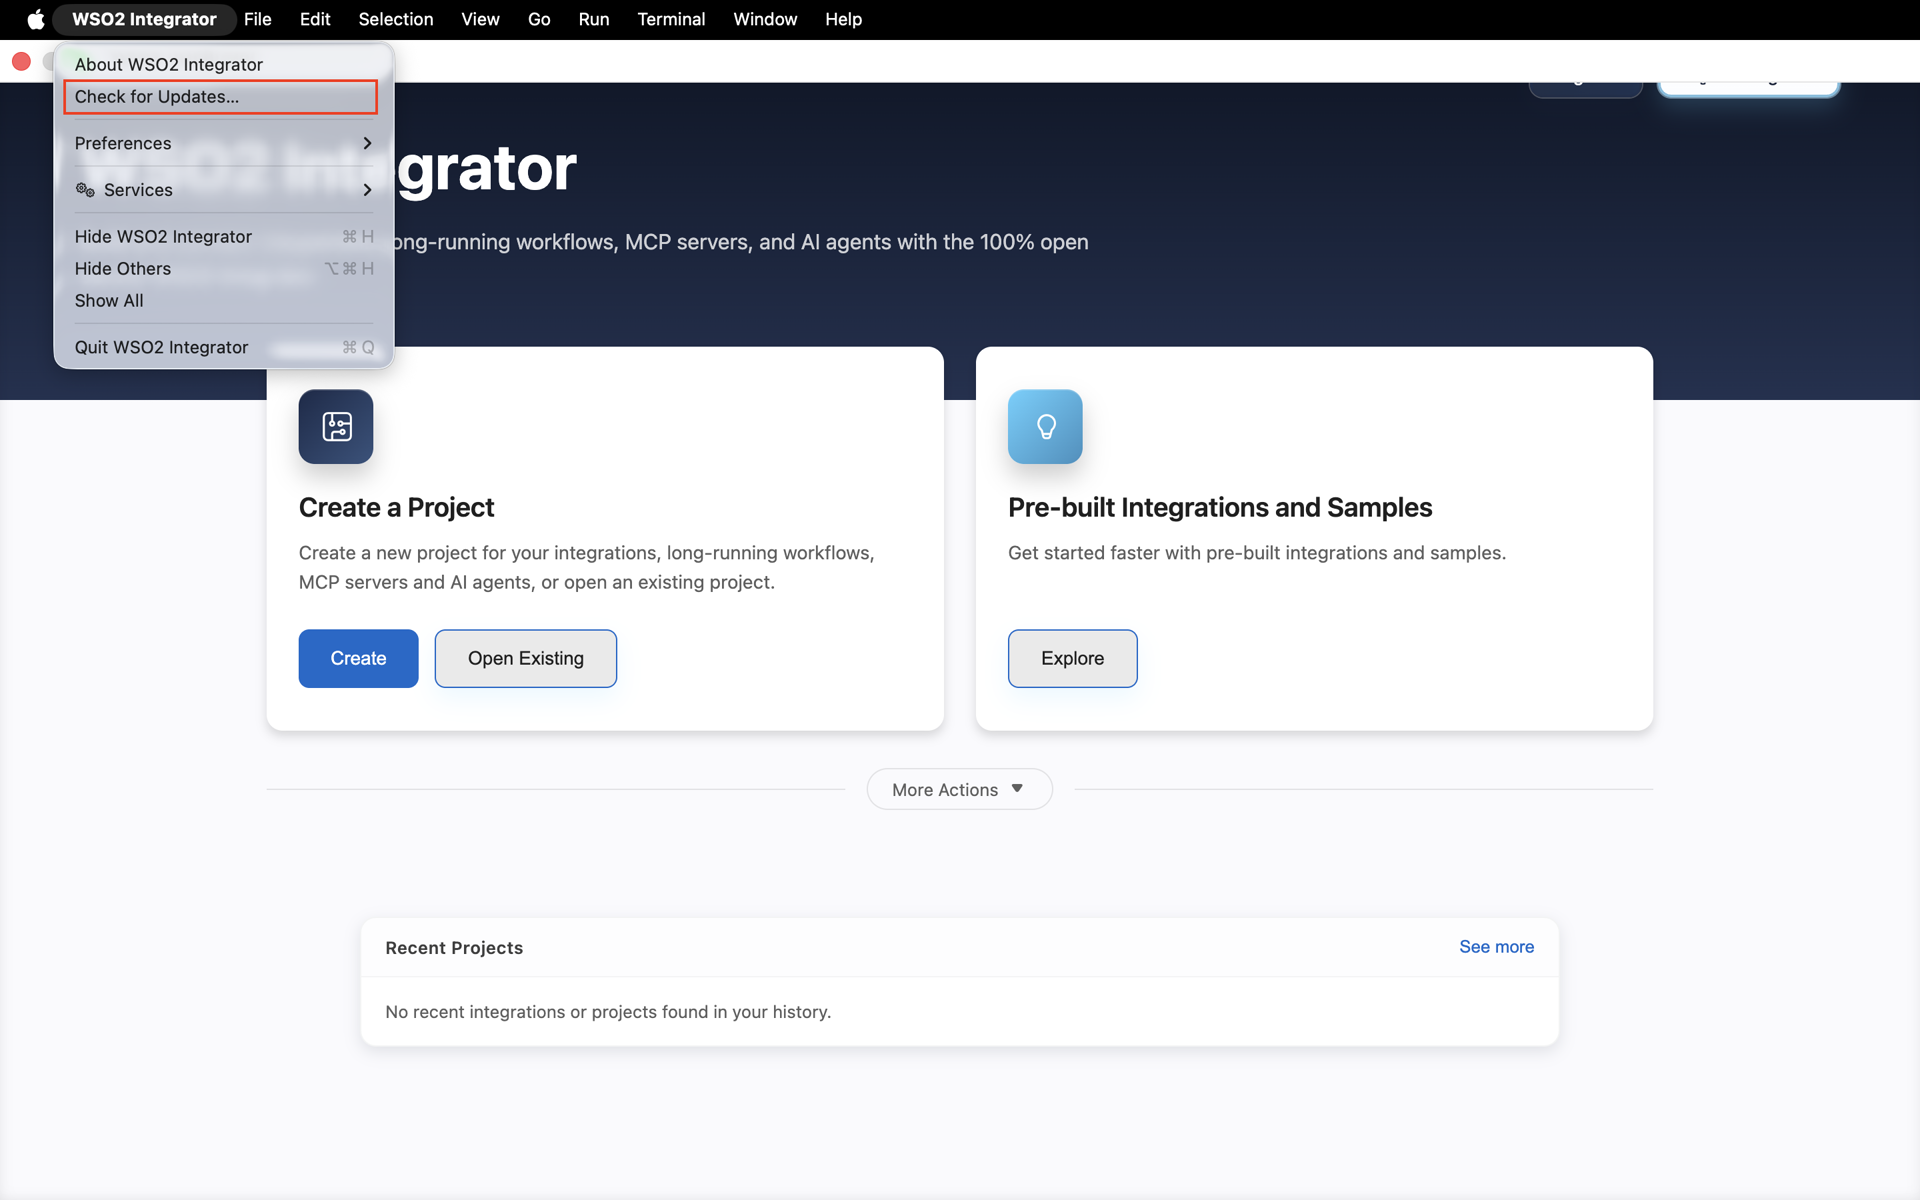
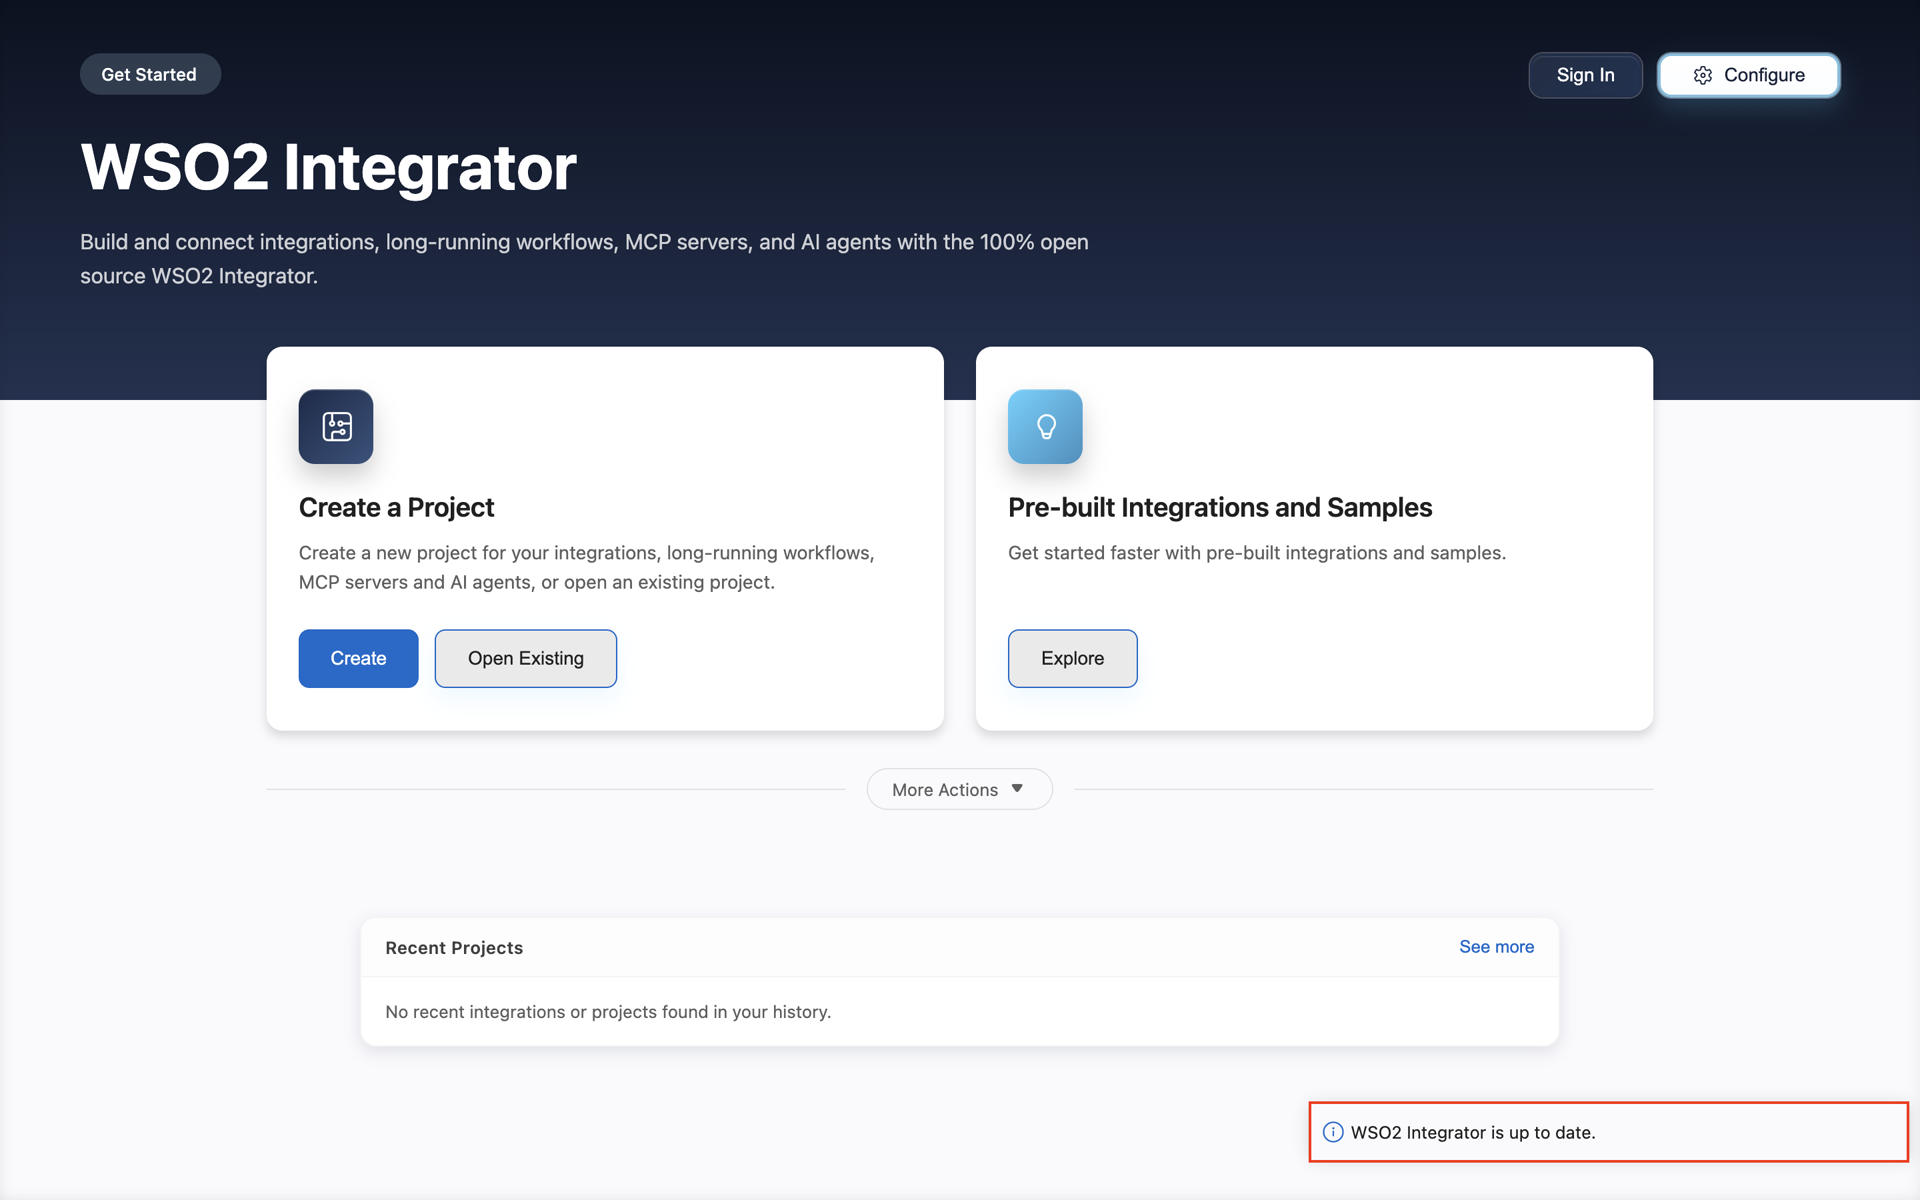
WSO2 Integrator shows the WSO2 Integrator is up to date notification.
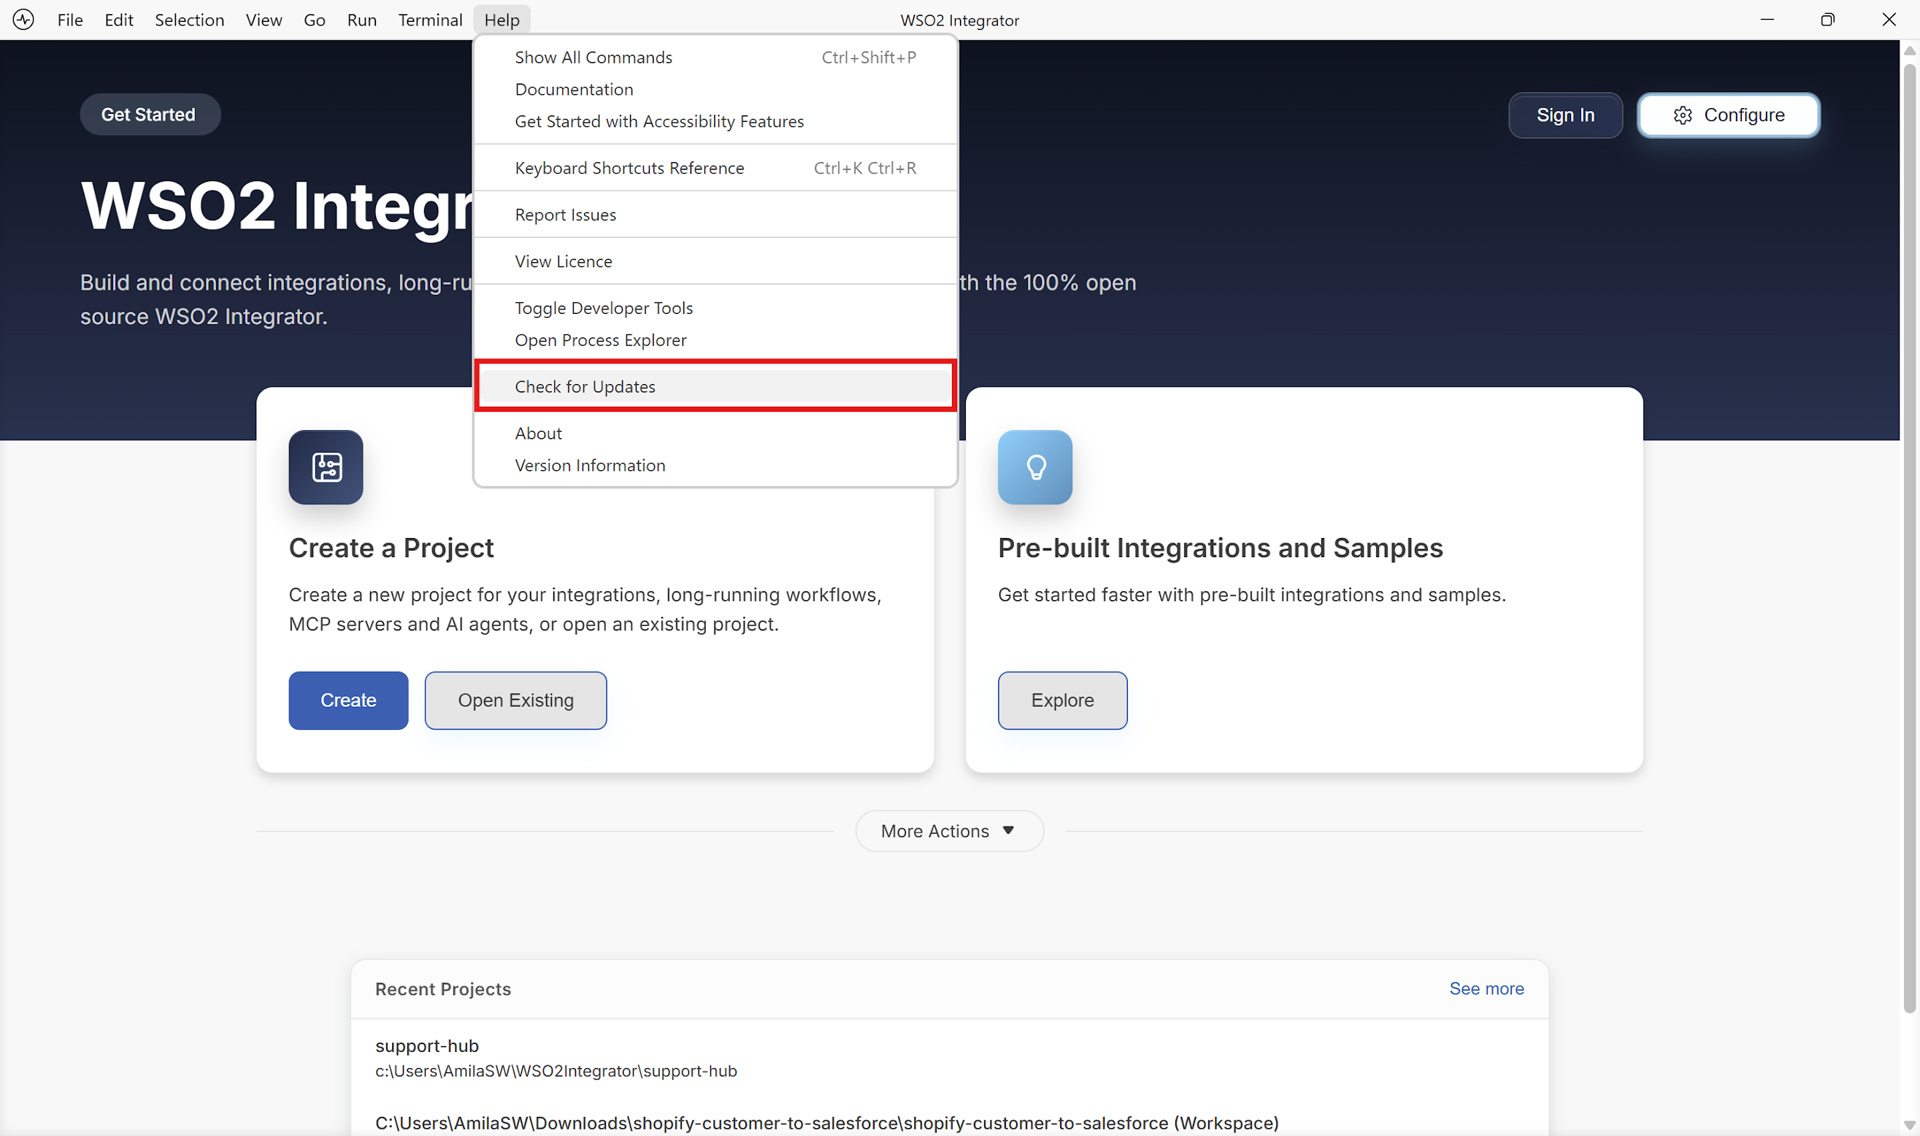
On the menu bar, click Help, and then click Check for Updates.
If updates are available, WSO2 Integrator shows a notification with an Update All button.
To install the updates:
-
Click Update All in the notification to download and install the updates for all components. To preview the available updates first, select Show Details.
Show Details shows the updates for each component individually.
Each component shows its current version. A component that has an update also shows the available version. To update only one component, select a component that shows an available version.
-
When the download completes, click Reload Window in the notification to finish updating.
-
To confirm the update, click Help, and then click Check for Updates again. WSO2 Integrator shows the WSO2 Integrator is up to date notification.
Next steps
- Cloud setup — Create a WSO2 Cloud account and organization to get the most out of WSO2 Integrator.
- Develop a new integration — Create a new integration project and start building.
- Open an existing integration — Continue working on a project you already have.
- Explore sample integrations — Learn from ready-made examples.