Build an Automation
Hello World to the terminal when it runs.An automation runs your integration logic without an external request, on demand or on a schedule. Automations are ideal for data synchronization, report generation, and routine maintenance jobs. This quick start shows the full cycle: add an automation artifact, build the logic in the visual designer, run it, and review the scheduling options for production.
Prerequisites
A working WSO2 Integrator environment.
Step 1: Create the integration
-
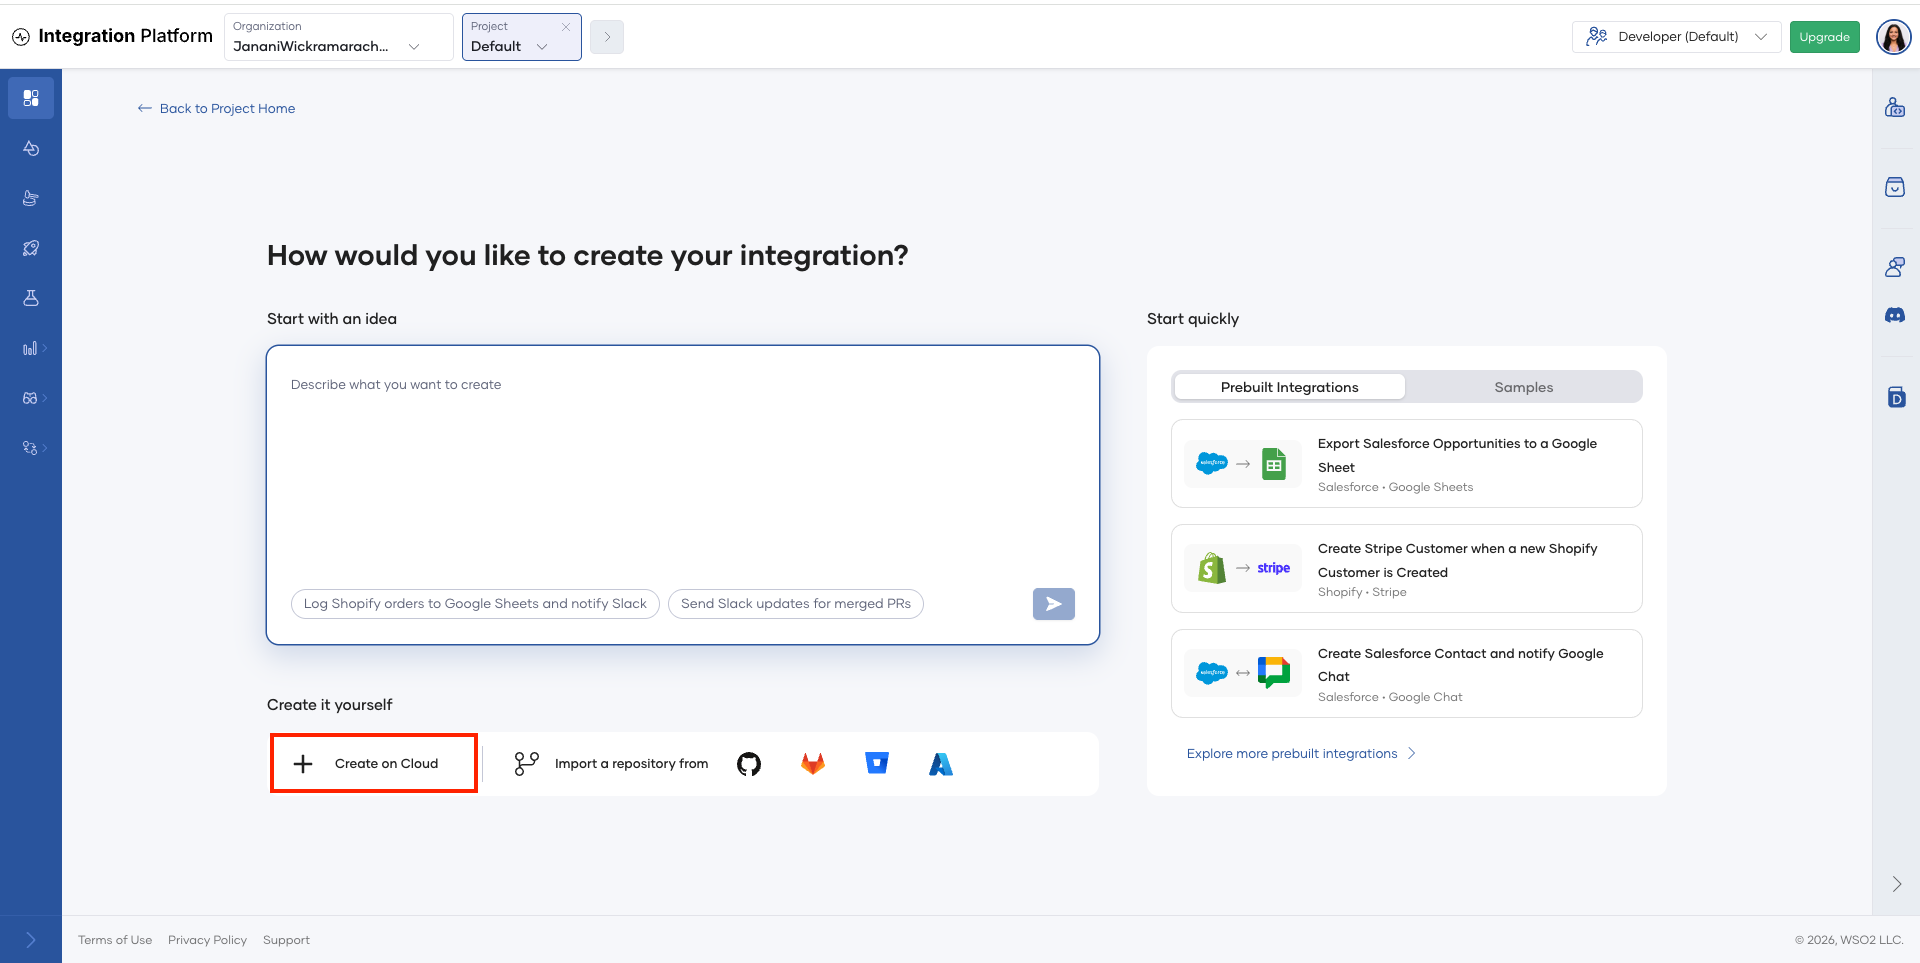
On the project home page, click Create on Cloud.
-
The WSO2 Integrator cloud editor opens in your browser.
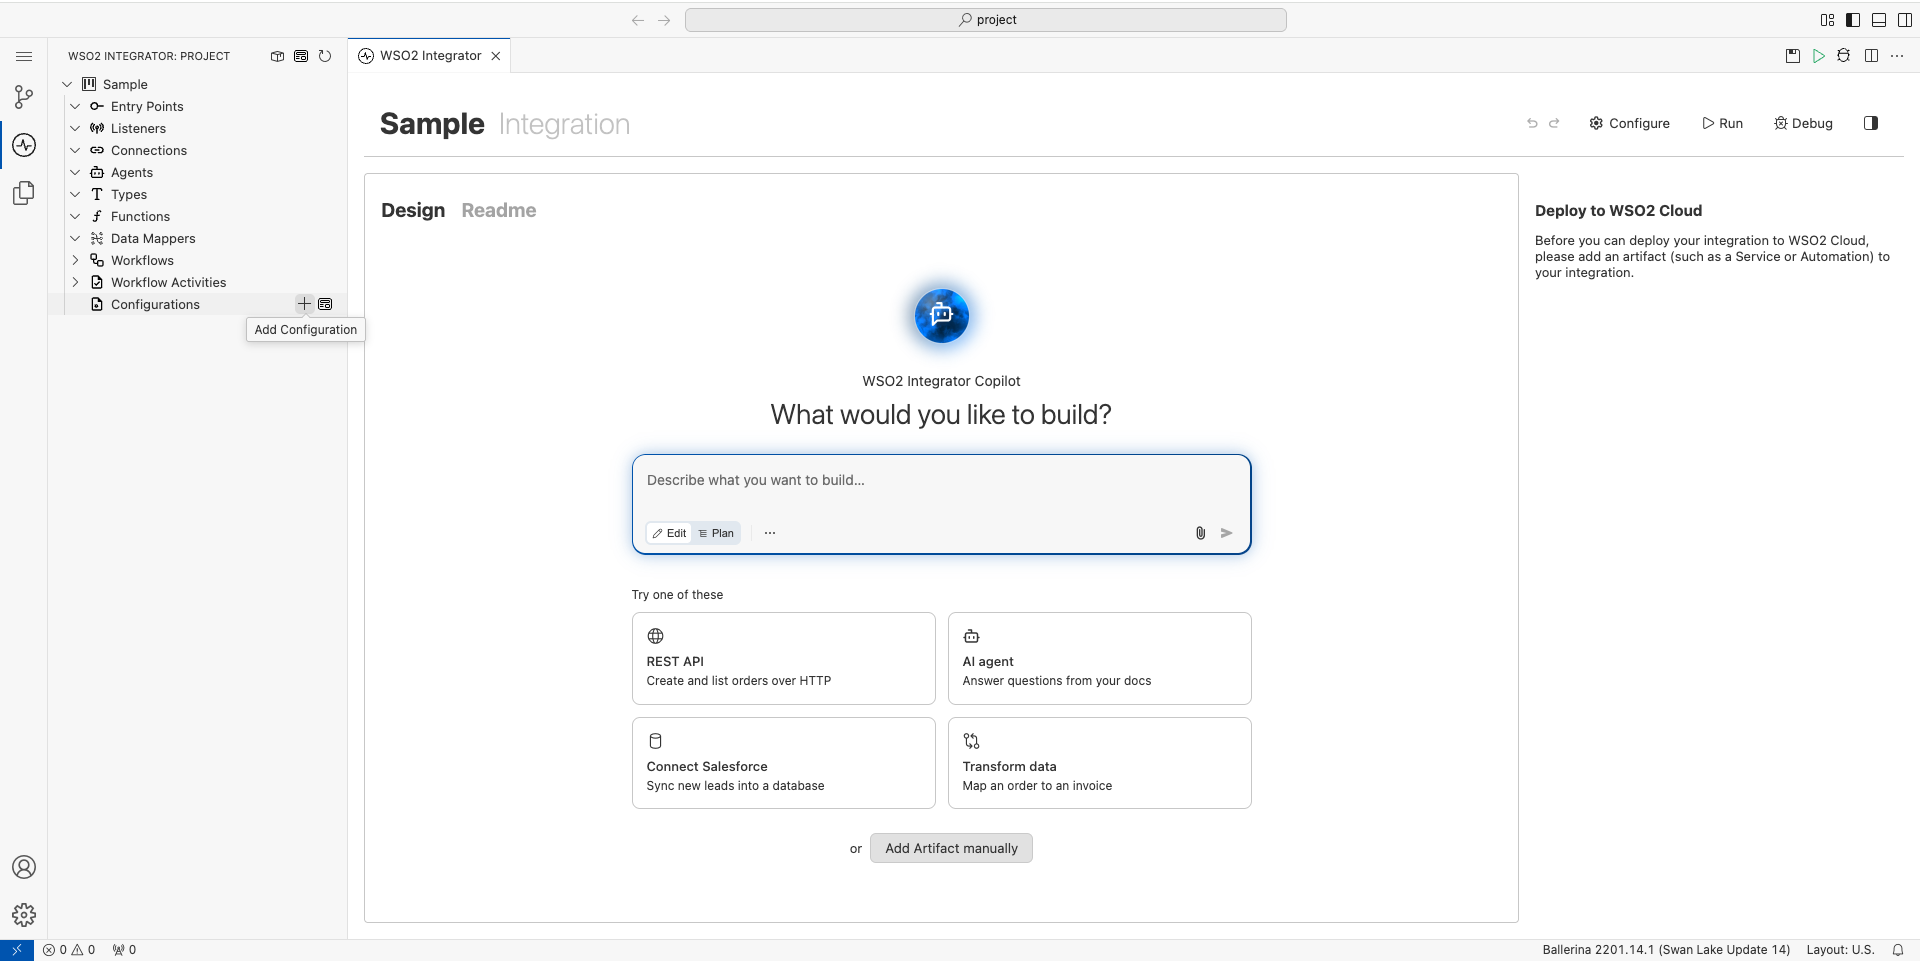
The cloud editor creates a default integration for you, so you don't need to name it now. You can change its name when you deploy it. For more information, see Save and deploy.
Step 2: Add an automation artifact
-
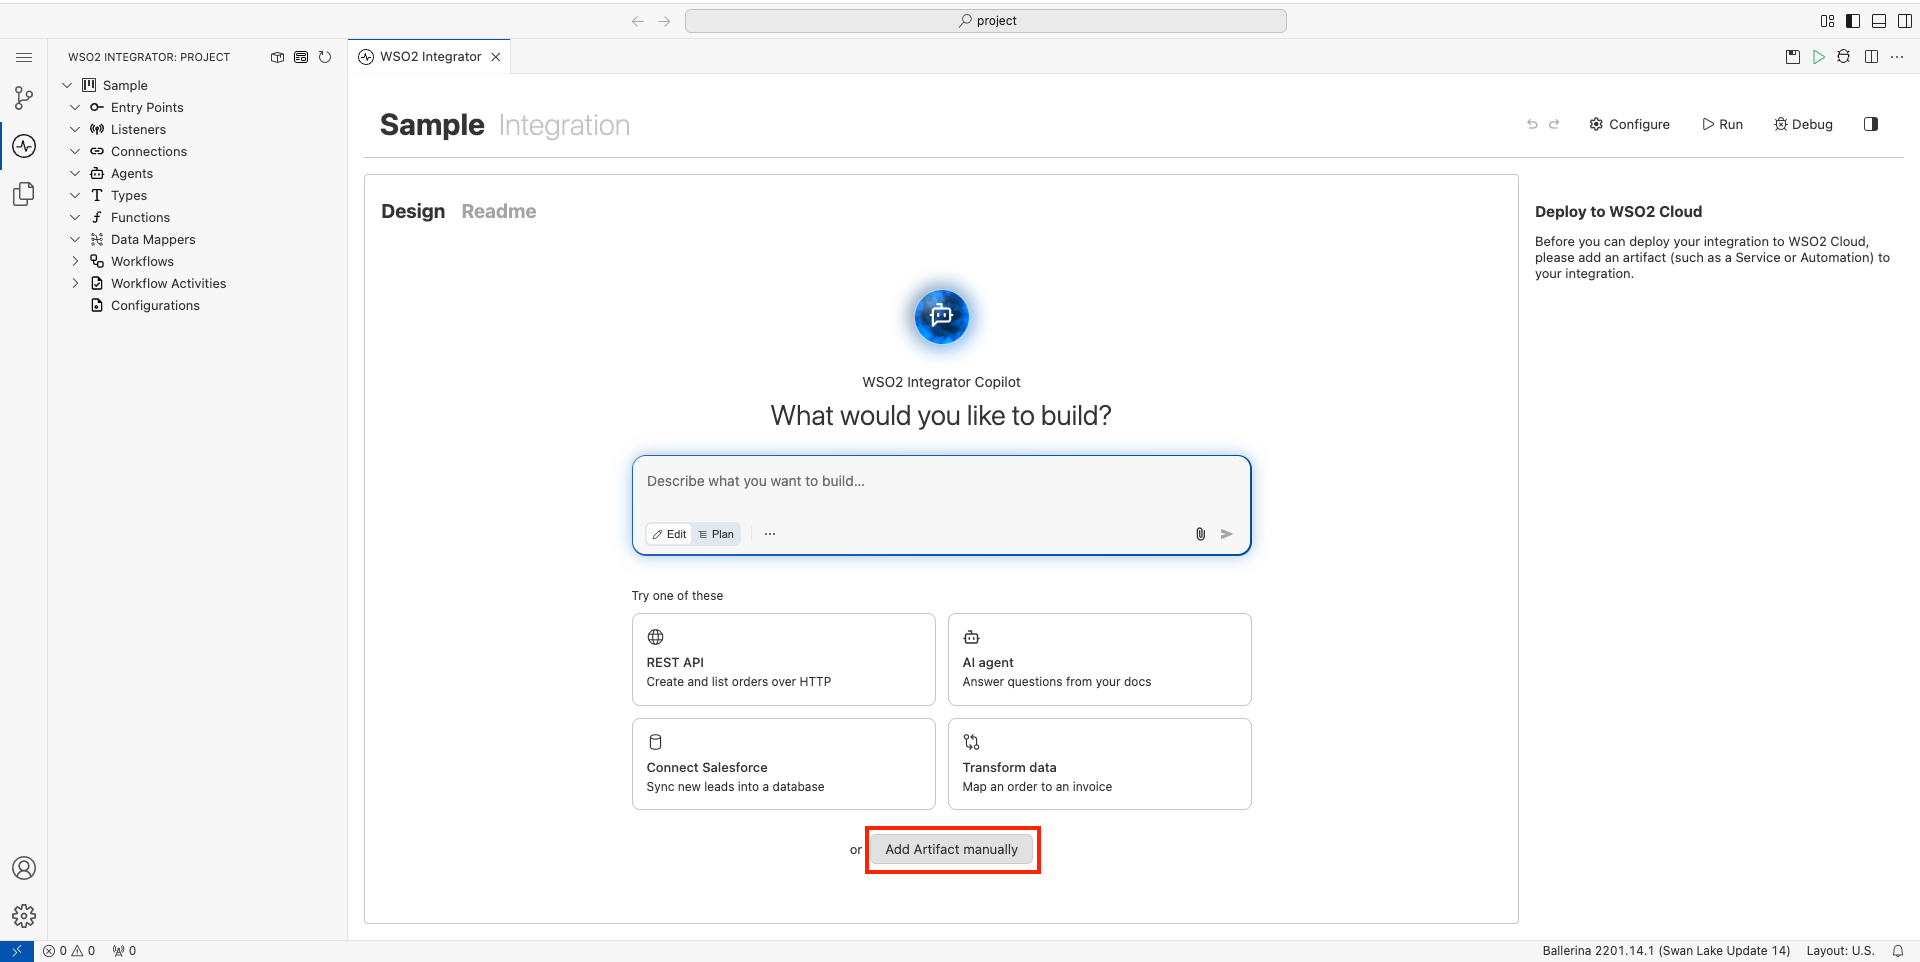
In the design view, click Add Artifact manually.
-
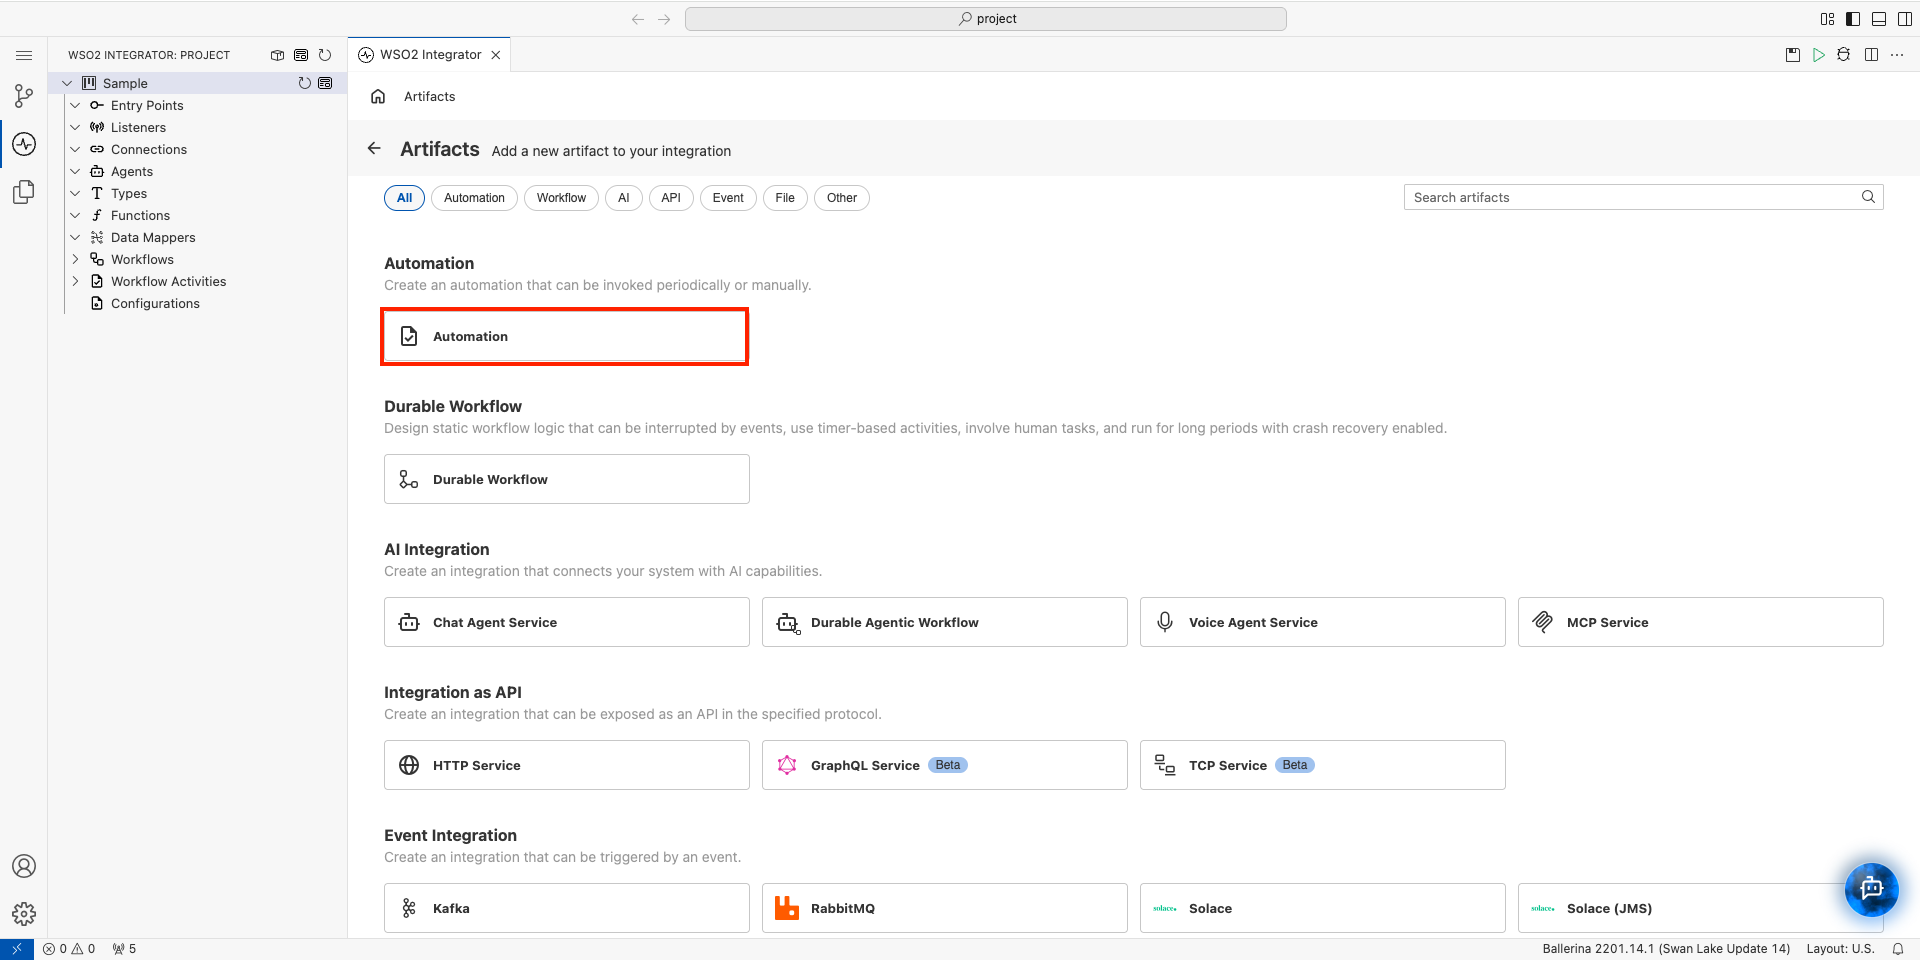
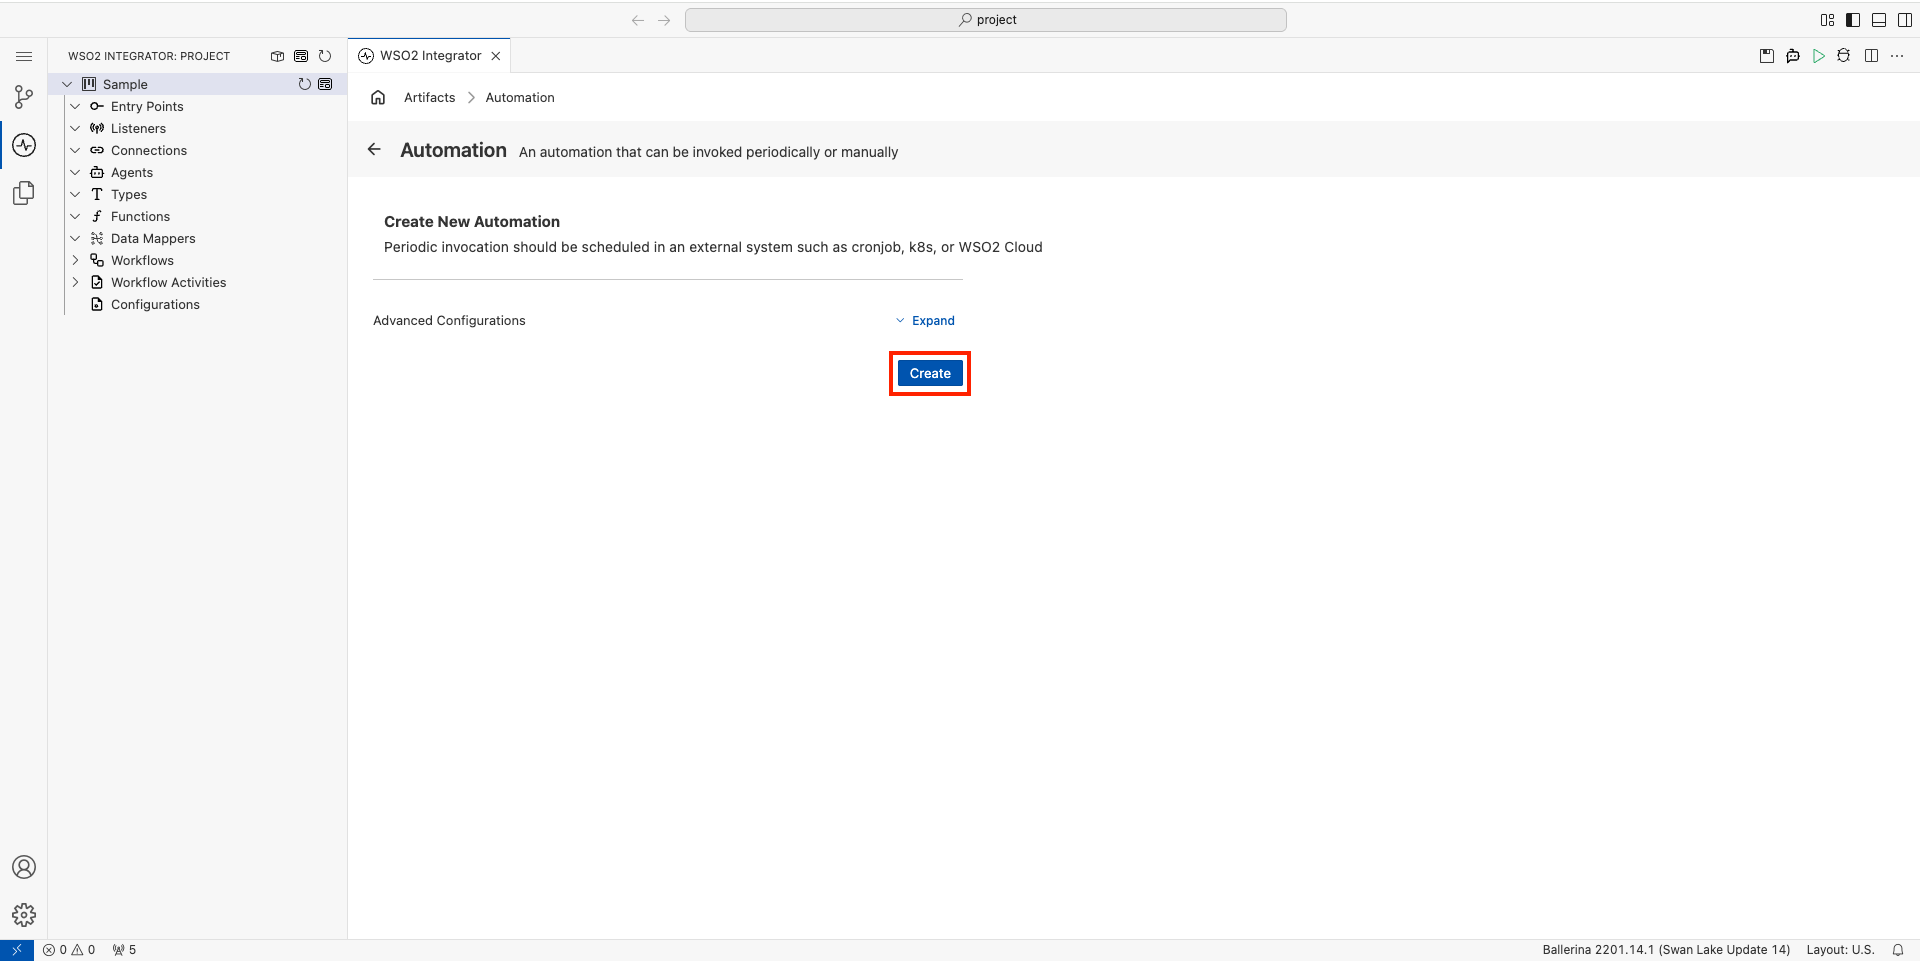
Select Automation under Automation.
-
Click Create.
Step 3: Add logic
-
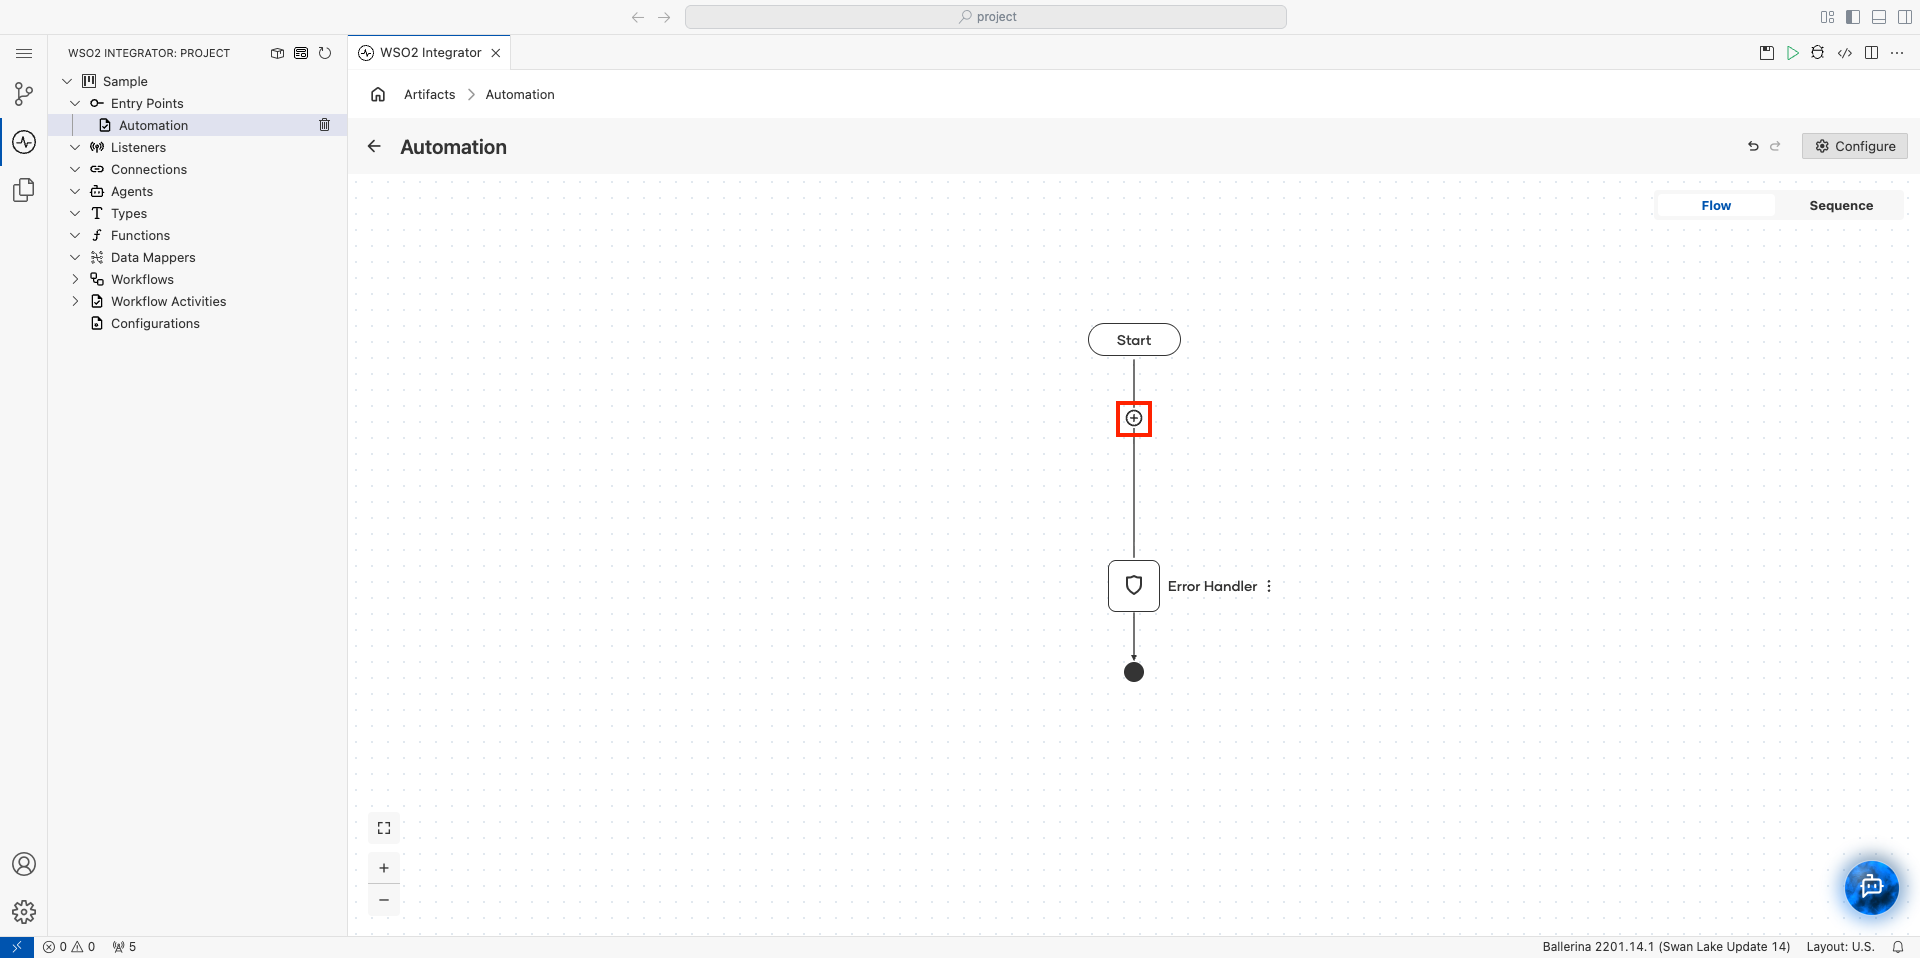
Click + below the Start node to open the node panel.
-
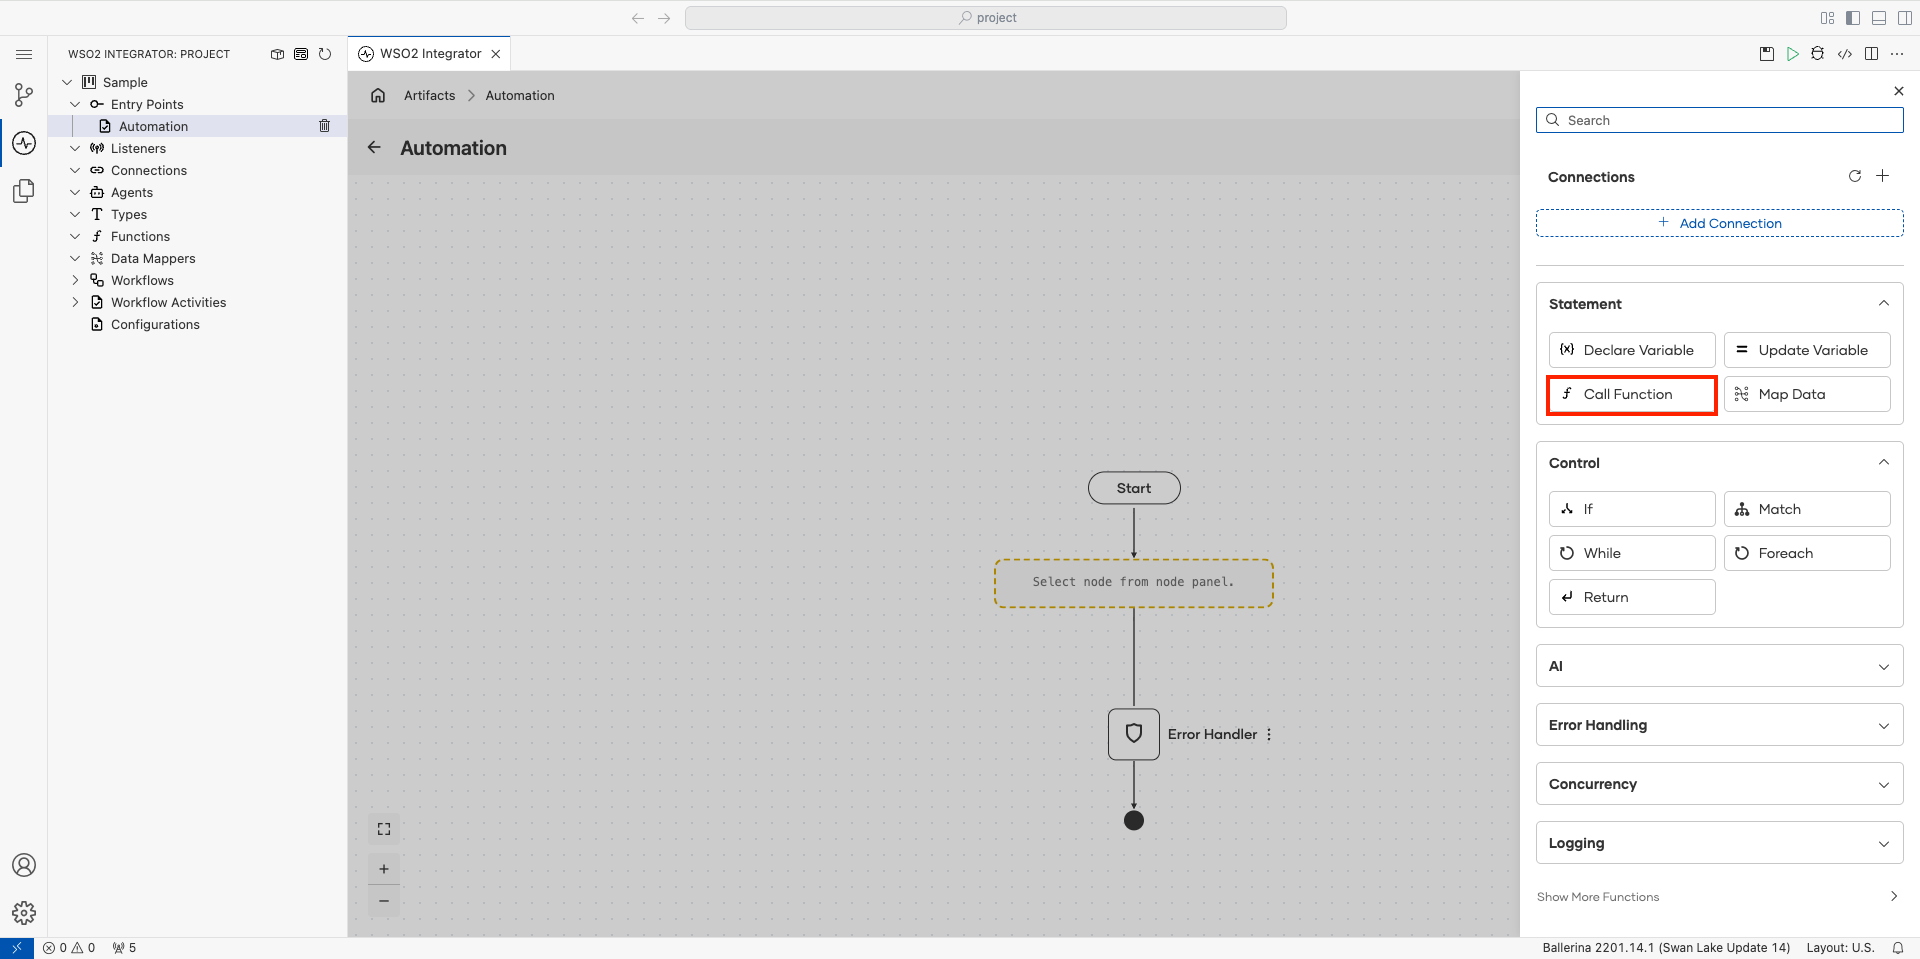
Select Call Function under Statement.
-
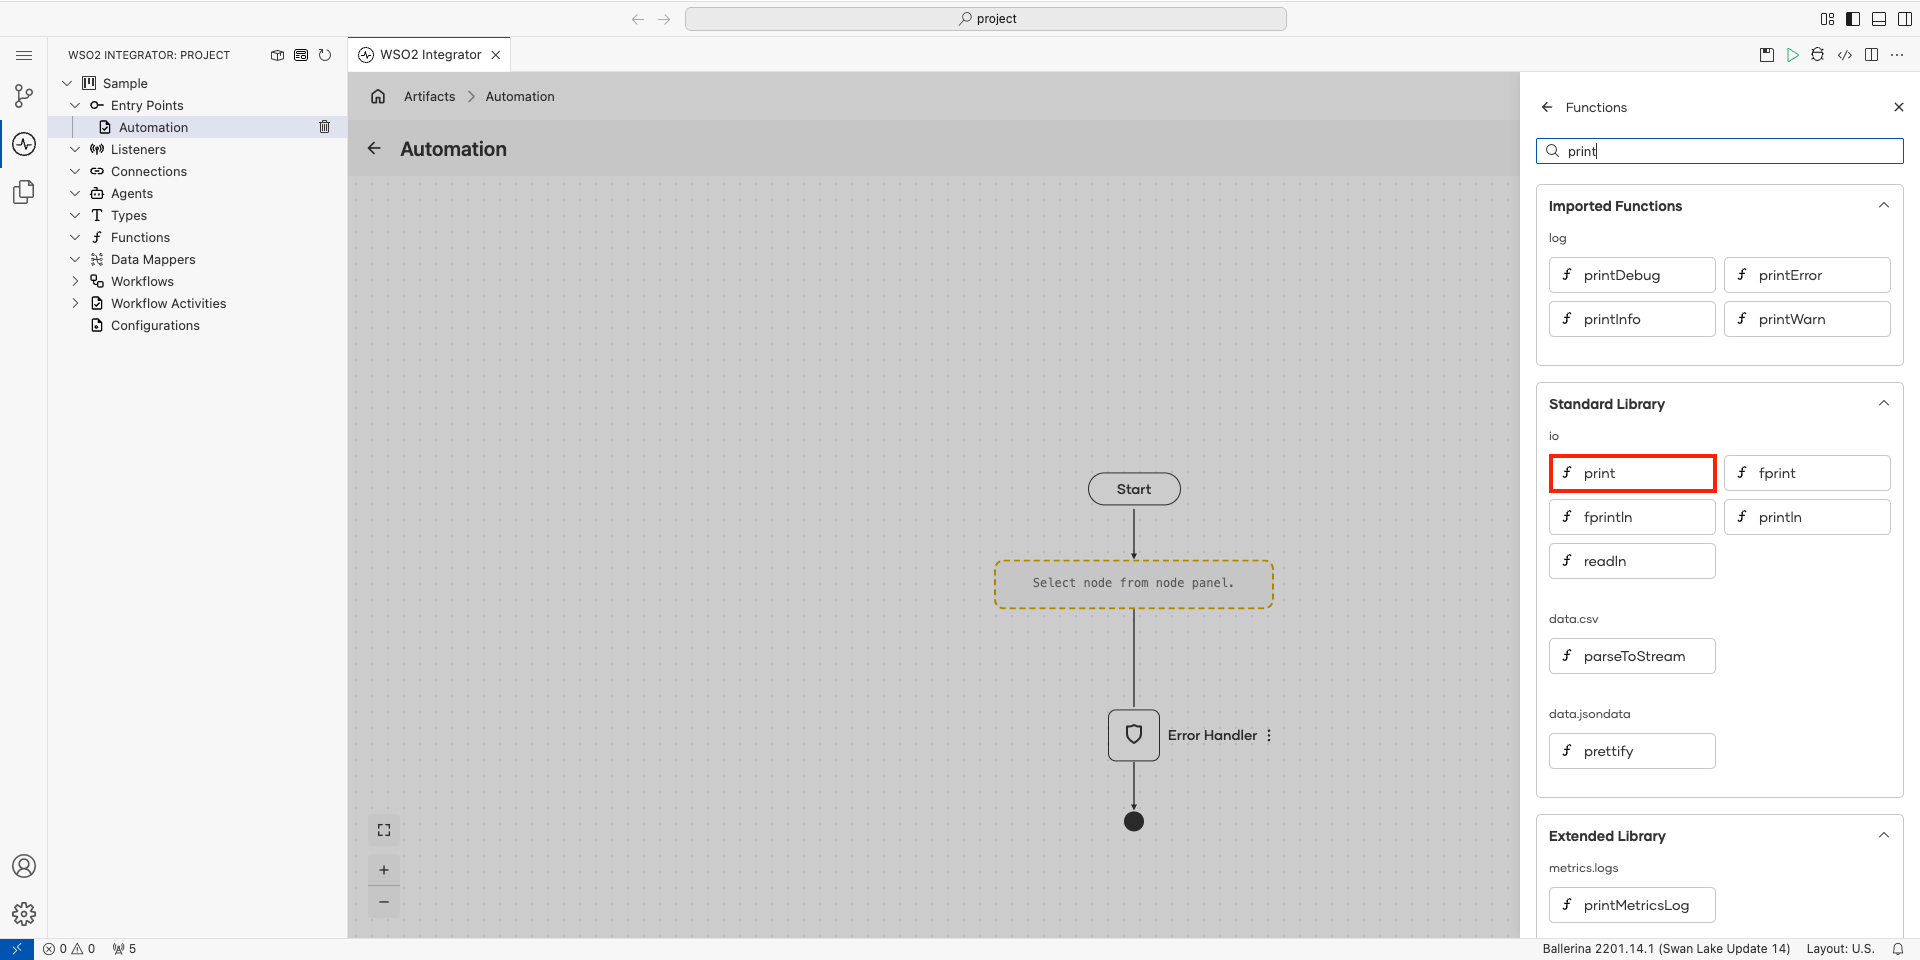
Search for
printin the functions panel. -
In the search results, go to the Standard Library section and select the print function under io.
-
Click Initialize Array for the Values parameter.
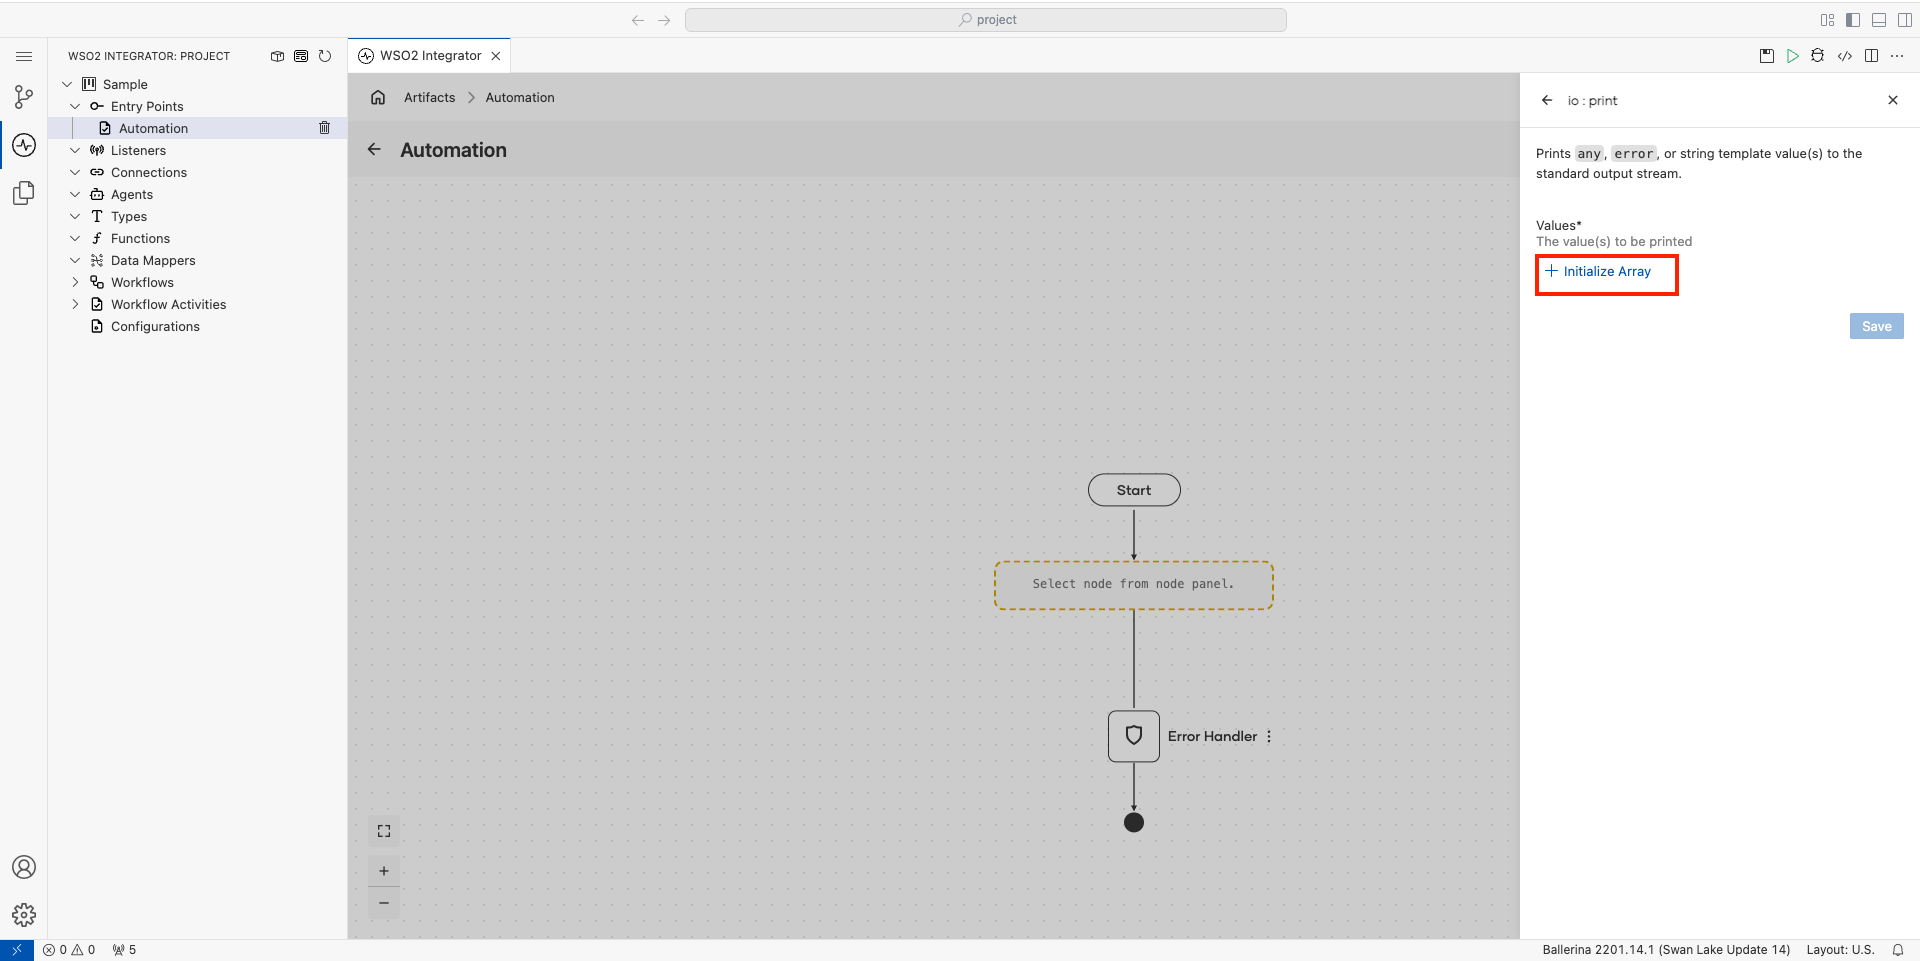
-
Set Values to
"Hello World"and click Save.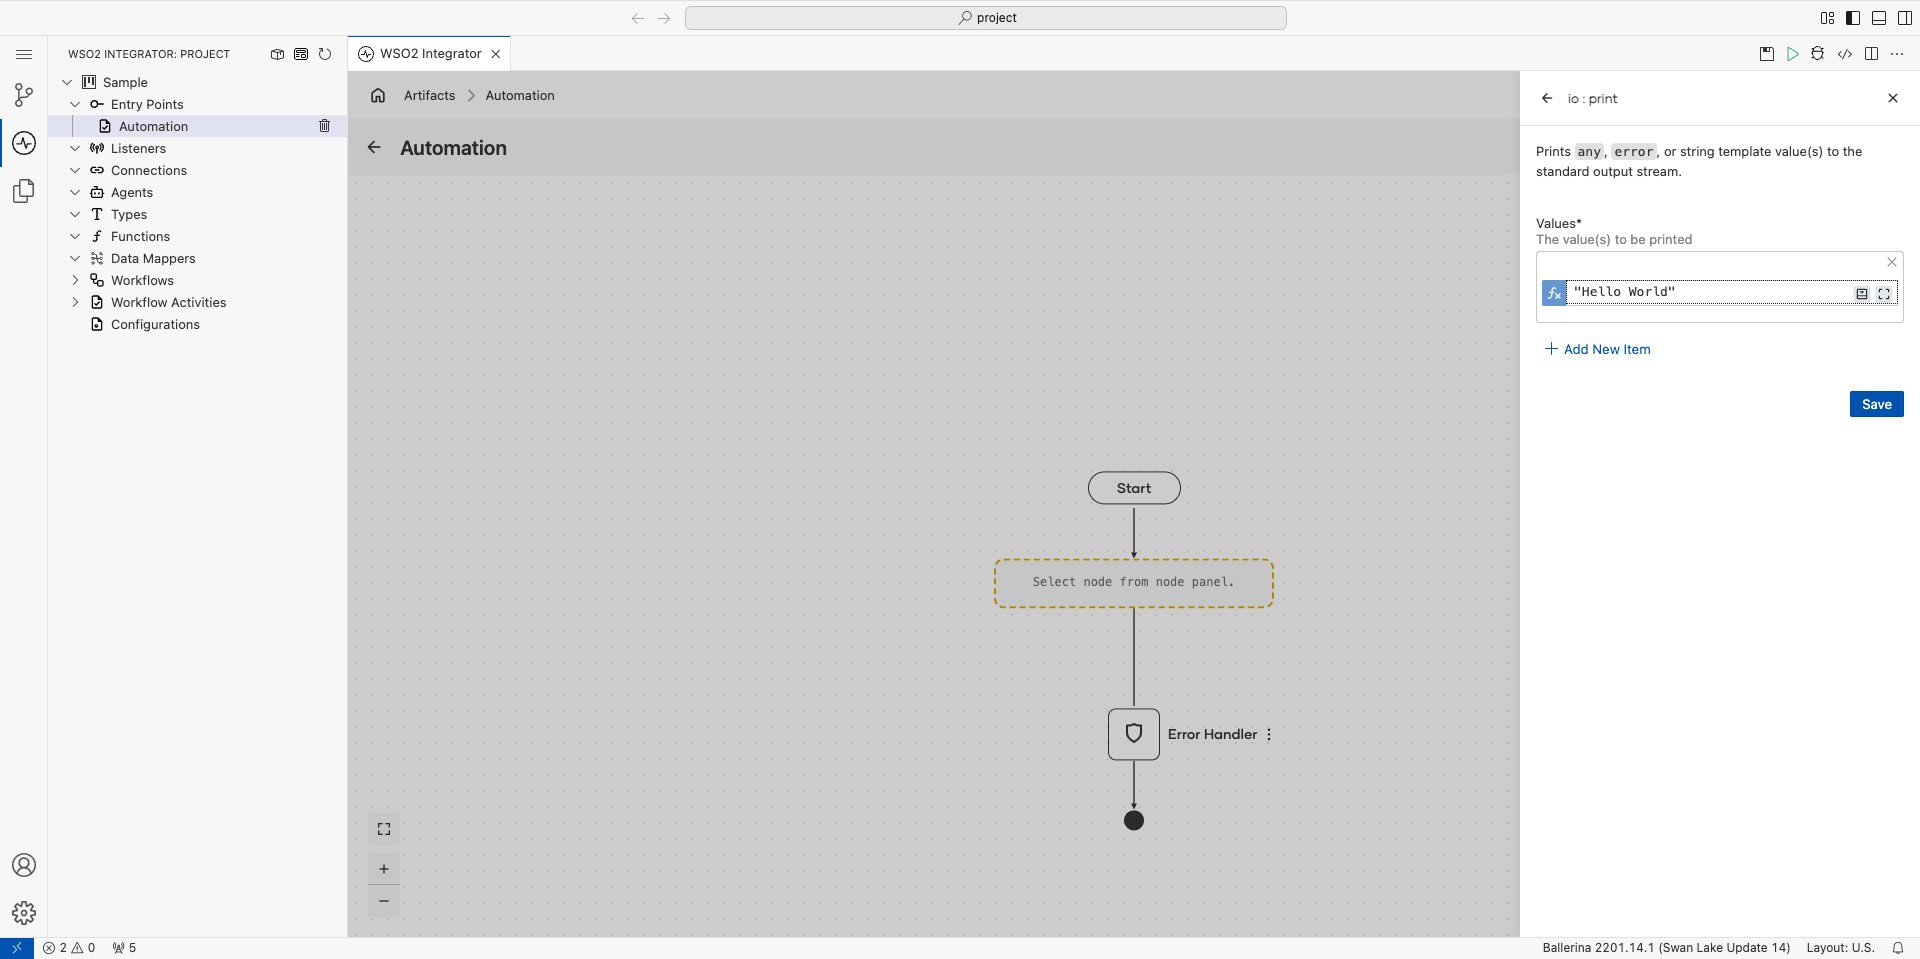
Step 4: Run and test
-
Click Run.
-
Confirm the terminal output contains
Hello World.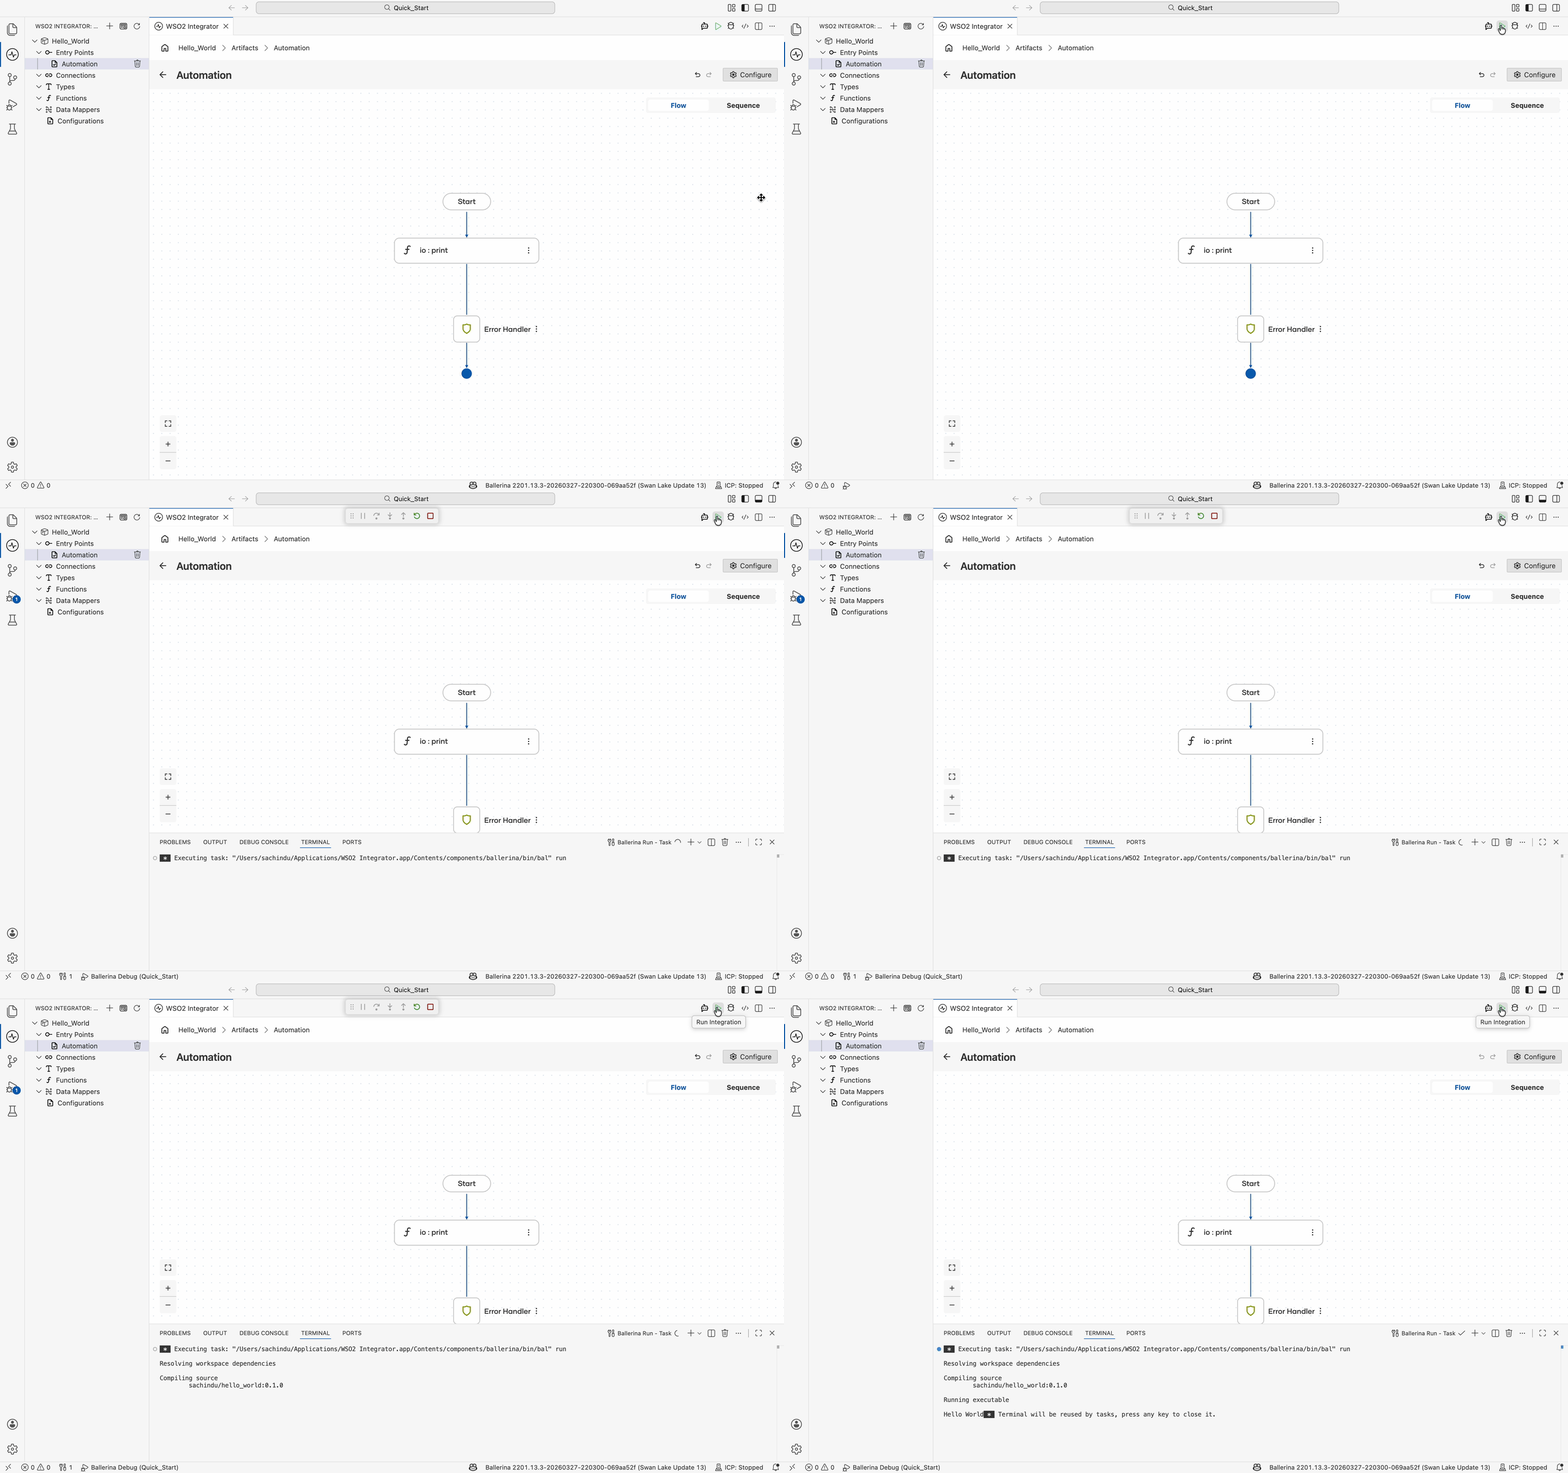
Step 5: Deploy to WSO2 Cloud
To deploy your integration to WSO2 Cloud from the cloud editor, see Save and deploy.
Skip ahead: deploy a ready-made sample
Rather not build it yourself? One-click deploy the HelloWorldAutomation sample straight to WSO2 Cloud.

Source code
View the generated Ballerina code
The steps above generate the following complete, runnable Ballerina program:
import ballerina/io;
import ballerina/log;

public function main() returns error? {
    do {
        io:print("Hello World");
    } on fail error e {
        log:printError("Error occurred", 'error = e);
        return e;
    }
}
Scheduling automations
Periodic invocation is configured in an external system once the automation is deployed. Available options include:
- Cron job: schedule the automation from a
cronentry on a Unix or Linux host. - Kubernetes: define a
CronJobresource to run the automation on a recurring schedule. - VM: use a host scheduler such as Windows Task Scheduler or
systemdtimers. - WSO2 Integration Platform: configure the schedule in the WSO2 Integration Platform when the integration is pushed to the cloud.